“Pass me the gravy, will ya?” That was my friend Mark’s exact line the first time I made this flavorful pan drippings gravy. Honestly, I wasn’t expecting much — just trying to make something quick to go with a roast chicken after a long day. But as soon as I drizzled that sauce over our plates, the room went quiet, save for the sounds of satisfied chewing. You know that kind of quiet where everyone’s too busy enjoying the food to talk? Yeah, that.
It wasn’t some fancy recipe or a complicated sauce you find in high-end restaurants. It was just the magic that happens when you don’t waste those browned bits stuck to the pan after cooking meat. That moment of scraping up the drippings, adding a few simple pantry staples, and whisking it until silky smooth — that’s what makes this gravy so special. Over time, I found myself making it again and again, for everything from weeknight dinners to holiday feasts, always impressed by how it turns an ordinary meal into something restaurant-worthy.
What stuck with me is how this gravy feels like the quiet hero of the meal — not flashy, but deeply satisfying. It’s the kind of sauce that invites you to slow down, savor each bite, and maybe, just maybe, ask for seconds. That’s why I keep this recipe close. It’s my go-to for turning simple roasts or skillet dinners into meals that feel just a little bit more special.
Why You’ll Love This Recipe
After testing countless gravy variations and tweaking every step, I can say this flavorful pan drippings gravy recipe nails everything I want in a sauce. Here’s why it’s become a staple in my kitchen:
- Quick & Easy: You can whip this up in under 15 minutes. Perfect for those nights when you want a restaurant-quality touch without the fuss.
- Simple Ingredients: No need for fancy or hard-to-find items — just basics like butter, flour, broth, and those all-important pan drippings.
- Perfect for Any Occasion: Whether you’re serving a roast chicken, pork chops, or even skillet-fried favorites like the crispy oven-fried buttermilk chicken tenders, this gravy fits right in.
- Crowd-Pleaser: Kids and adults alike tend to go back for seconds when this sauce is on the table.
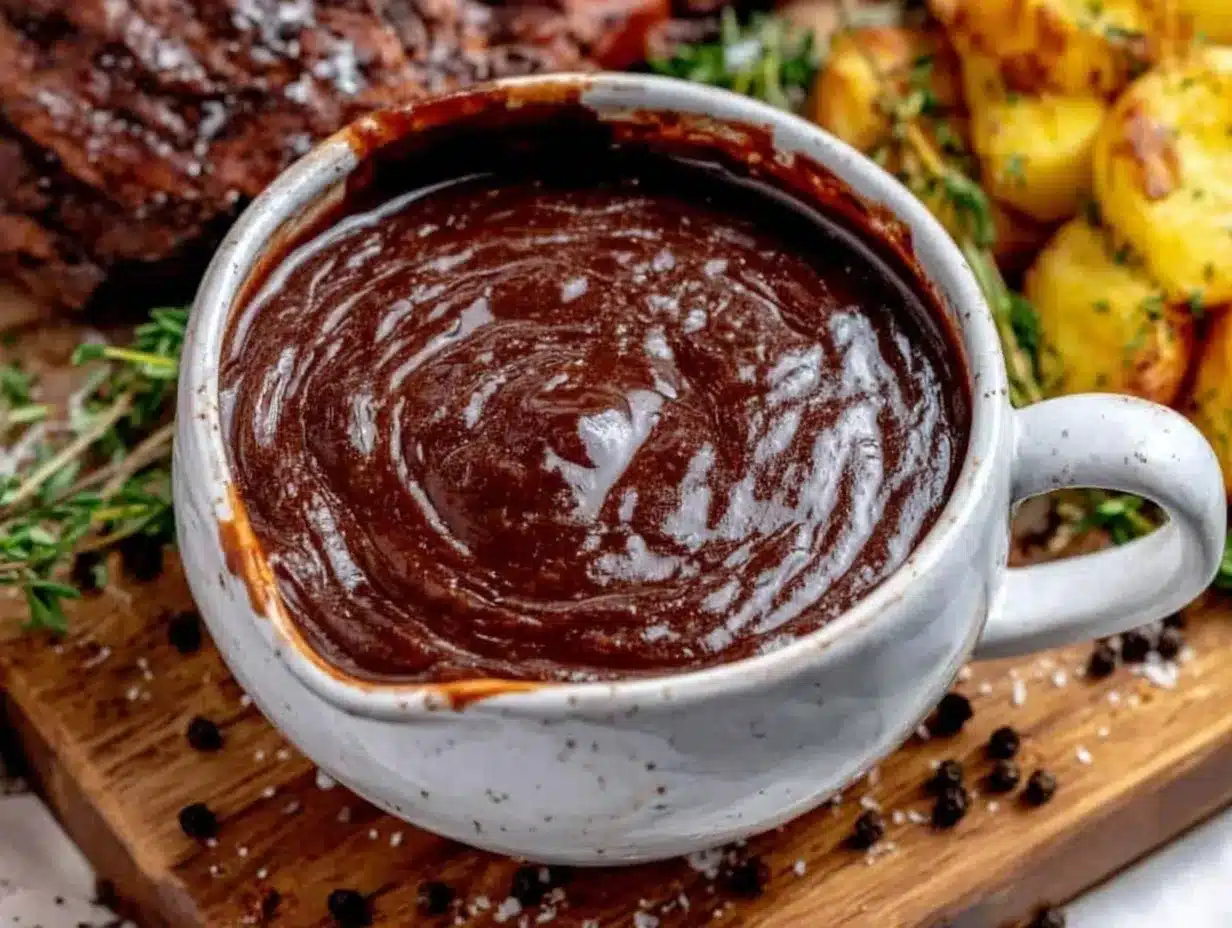
- Unbelievably Delicious: The secret lies in balancing the rich, caramelized flavors from the pan drippings with just enough broth and seasoning to create a velvety texture and deep taste.
What really sets this gravy apart is the technique — carefully scraping and deglazing the pan to capture every bit of flavor, then slowly whisking in the flour and broth to avoid lumps and achieve that perfect silky finish. It’s not just another gravy; it’s the best version because it honors the meat’s essence.
Honestly, it’s the kind of sauce that makes you close your eyes after the first bite and say, “Yep, that’s good.” It’s comfort food with a little extra soul, and it’s saved many a rushed dinner from feeling ordinary.
What Ingredients You Will Need
This flavorful pan drippings gravy uses simple, wholesome ingredients that work together to deliver bold flavor and a smooth texture. Most of these are pantry staples or come straight from your roast, so no extra trips to the store usually needed.
- Pan Drippings: Those browned bits and juices left in the pan after roasting meat (chicken, beef, pork, or turkey). They’re the heart of the gravy’s flavor.
- Unsalted Butter (2 tablespoons): Adds richness and helps create a smooth roux. You can use salted butter but reduce added salt later.
- All-Purpose Flour (2 tablespoons): Thickens the gravy. For a gluten-free option, substitute with cornstarch or almond flour (adjust amounts).
- Chicken or Beef Broth (2 cups / 480 ml): The base liquid. Use low-sodium broth to control salt. Homemade broth works beautifully here.
- Freshly Ground Black Pepper (to taste): Adds subtle heat and depth.
- Salt (to taste): Balances the flavors, but add carefully since broths and drippings can be salty.
- Optional Add-ins:
- Fresh herbs like thyme or rosemary (a sprig or two for simmering)
- Garlic powder or minced garlic for an extra savory kick
- A splash of dry white wine or sherry for complexity (add when deglazing)
When selecting broth, I personally prefer brands like Pacific Foods or Swanson for their clean, balanced flavor. If you want a deeper color and richer taste, beef broth is great with red meat drippings, while chicken broth pairs nicely with poultry or pork.
Remember, the key ingredient is the pan drippings — so whatever meat you’re roasting, keep those fond bits in the pan. They’re like liquid gold for this gravy.
Equipment Needed
Making this gravy doesn’t require fancy gadgets, but having the right tools helps a lot.
- Skillet or Roasting Pan: To collect the drippings. A heavy-bottomed pan works best for even heat distribution.
- Whisk: Essential for smoothly blending the flour and broth to avoid lumps.
- Measuring Cups and Spoons: For precise ingredient amounts.
- Heatproof Spatula or Wooden Spoon: Helpful for scraping up those browned bits stuck to the pan.
- Fine Mesh Strainer (optional): To strain the gravy if you prefer it ultra-smooth, though I often skip this step for a bit of rustic texture.
For budget-friendly options, a basic stainless steel skillet and a standard whisk will do just fine. I’ve tried using silicone spatulas in non-stick pans, which also work well for scraping. A good whisk makes a huge difference — it’s worth investing in a sturdy one that holds its shape.
Preparation Method
- Collect the Pan Drippings: After roasting your meat, transfer it to a plate and tent with foil to rest. Place the roasting pan or skillet on the stove over medium heat. If there’s a lot of fat, spoon off most but leave about 2 tablespoons for flavor.
- Deglaze the Pan: Pour in 1/4 cup (60 ml) of your broth or a splash of white wine to loosen the browned bits stuck to the pan. Use a spatula to scrape the bottom gently. This step is crucial for capturing all that caramelized flavor.
- Melt Butter and Make Roux: In the same pan, add 2 tablespoons unsalted butter. Once melted, sprinkle in 2 tablespoons all-purpose flour. Stir constantly with a whisk over medium heat for about 2-3 minutes until the mixture turns a light golden color — this cooks out the raw flour taste.
- Slowly Add Broth: Gradually pour in 2 cups (480 ml) of broth while whisking continuously. This prevents lumps and helps the gravy thicken evenly.
- Simmer and Season: Let the gravy simmer gently for 5-7 minutes, whisking occasionally. It will thicken to a smooth, pourable consistency. Add salt and freshly ground black pepper to taste. If using herbs or garlic, add them now to infuse flavor.
- Adjust Consistency: If the gravy is too thick, whisk in a little more broth or water. If too thin, simmer a bit longer to reduce and thicken.
- Strain (Optional): For an ultra-smooth finish, pour the gravy through a fine mesh strainer into a serving dish.
- Serve Warm: Pour over your roasted meat or mashed potatoes immediately for that iconic restaurant-quality experience.
Timing tip: While the meat rests (which is key for juicy results), the gravy can come together quickly without losing heat. Don’t rush the roux stage — that’s where the flavor deepens and smoothness builds.
Common pitfall: Adding broth too fast can cause lumps. Slow and steady whisking is the secret.
Cooking Tips & Techniques
Making gravy from pan drippings sounds simple, but a few tricks make all the difference:
- Don’t skimp on scraping the pan: Those browned bits (fond) are pure flavor gold. Use your spatula to loosen every last piece.
- Cook the roux properly: Stir the butter and flour mixture until it’s golden, not pale or burnt. That nutty aroma signals it’s ready to thicken your gravy.
- Add liquid gradually: Pour broth in a slow stream while whisking to prevent lumps. If lumps form, whisk vigorously or strain the sauce.
- Season carefully: Taste before adding salt — your broth and drippings might already be salty.
- Use fresh broth: Homemade or good-quality store-bought broth elevates the gravy’s flavor dramatically.
- Simmer gently: Boiling aggressively can break down the sauce’s texture and make it grainy.
- Personal lesson: I once skipped resting the meat and rushed the gravy. The sauce ended up thin and lacking depth. Lesson learned: patience really matters.
- Multitasking: Start prepping your side dishes while the gravy simmers to save time.
Following these tips will get you close to restaurant-level gravy every time — no fuss, no stress.
Variations & Adaptations
This pan drippings gravy is versatile and easy to tweak for different preferences and dietary needs:
- Herb-Infused Gravy: Add fresh thyme, rosemary, or sage sprigs while simmering for a fragrant twist.
- Gluten-Free Version: Swap all-purpose flour with cornstarch or arrowroot powder. Mix starch with cold broth before adding to prevent clumping.
- Rich Mushroom Gravy: Sauté finely chopped mushrooms in the butter before adding flour for an earthy depth.
- Make it Dairy-Free: Use olive oil or dairy-free margarine instead of butter and choose a vegetable broth base.
- Wine-Enhanced: Deglaze the pan with white or red wine instead of broth for a bolder, more complex sauce.
One variation I keep coming back to is mushroom pan drippings gravy — especially when making skillet honey garlic pork chops. The mushrooms soak up all those meaty flavors and turn the gravy into a full meal companion.
Serving & Storage Suggestions
This gravy shines when served warm and fresh, drizzled generously over roasted meats, mashed potatoes, or even skillet dishes like the creamy slow cooker potato soup with crispy bacon. It’s also fantastic poured over roasted vegetables or stuffing for holiday meals.
To store leftovers, transfer the gravy to an airtight container and refrigerate for up to 3 days. When reheating, warm gently on the stove over low heat, whisking occasionally to restore smoothness. If it thickens too much after chilling, stir in a splash of broth or water to loosen it.
Flavors often deepen after a day in the fridge, making it even better the next day. Just be sure to reheat carefully to avoid breaking the sauce.
Nutritional Information & Benefits
This flavorful pan drippings gravy is relatively low in calories per serving (about 50–70 calories per 1/4 cup or 60 ml), depending on the fat content of your drippings and broth.
Key benefits include:
- Protein and minerals from the meat drippings.
- Controlled fat content if you skim excess grease.
- Gluten-free options available with starch substitutions.
- Low-carb version possible by omitting flour and using alternative thickeners.
While it’s a comfort food staple, you can keep it balanced by pairing with plenty of vegetables and lean proteins. Personally, I appreciate how this gravy adds flavor without extra processed ingredients — just good, honest cooking.
Conclusion
What makes this flavorful pan drippings gravy recipe a keeper is how it transforms simple meals into satisfying, restaurant-quality experiences with minimal effort. Whether you’re rushing through a weeknight dinner or hosting a special occasion, this gravy brings that cozy, indulgent feel to the table.
Feel free to tweak the herbs, thickness, or liquid base to suit your taste, making it your own signature sauce. For me, there’s nothing quite like the quiet satisfaction of pouring homemade gravy over a hot plate — it’s a small ritual that turns any meal into a moment worth savoring.
If you try this recipe, I’d love to hear how you make it yours — drop a comment or share your favorite variations. Happy cooking!
Frequently Asked Questions
What if I don’t have pan drippings? Can I still make this gravy?
You can make a simple gravy with butter, flour, and broth alone, but the pan drippings add irreplaceable depth. If you don’t have drippings, try sautéing some onions or garlic in butter before adding flour and broth to mimic richness.
Can I make this gravy ahead of time?
Yes! Prepare the gravy, cool it completely, and refrigerate up to 3 days. Reheat gently on the stove, whisking in a bit of broth or water to loosen if needed.
Why is my gravy lumpy and how do I fix it?
Lumps usually form if flour is added too quickly or liquid poured too fast. Whisk continuously while adding broth slowly. If lumps appear, strain the gravy or whisk vigorously over low heat until smooth.
Can I freeze pan drippings gravy?
Absolutely. Freeze in an airtight container for up to 3 months. Thaw overnight in the fridge and reheat gently before serving.
What meats work best for pan drippings gravy?
Roasts or seared meats like chicken, turkey, beef, pork, and even lamb produce excellent drippings. Each brings a unique flavor note to your gravy.
Pin This Recipe!
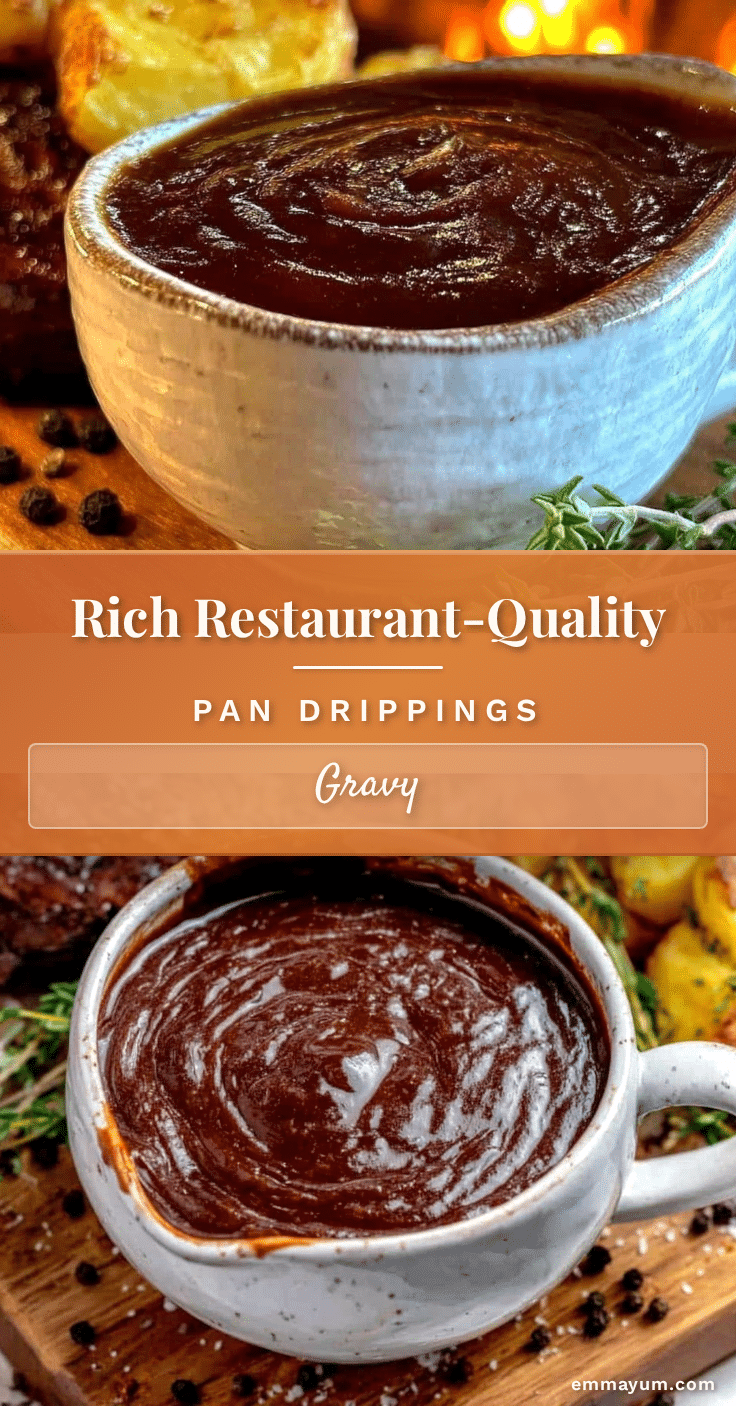
Flavorful Pan Drippings Gravy Recipe Easy Restaurant-Quality Sauce
A quick and easy gravy made from pan drippings that delivers rich, restaurant-quality flavor perfect for roasts and skillet dishes.
- Prep Time: 5 minutes
- Cook Time: 10 minutes
- Total Time: 15 minutes
- Yield: About 1.5 cups (serves 4) 1x
- Category: Sauce
- Cuisine: American
Ingredients
- Pan drippings from roasted meat (chicken, beef, pork, or turkey)
- 2 tablespoons unsalted butter
- 2 tablespoons all-purpose flour
- 2 cups (480 ml) chicken or beef broth
- Freshly ground black pepper to taste
- Salt to taste
- Optional add-ins: fresh herbs (thyme, rosemary), garlic powder or minced garlic, splash of dry white wine or sherry
Instructions
- After roasting your meat, transfer it to a plate and tent with foil to rest. Place the roasting pan or skillet on the stove over medium heat. If there’s a lot of fat, spoon off most but leave about 2 tablespoons for flavor.
- Pour in 1/4 cup (60 ml) of broth or a splash of white wine to loosen the browned bits stuck to the pan. Use a spatula to scrape the bottom gently.
- Add 2 tablespoons unsalted butter to the pan. Once melted, sprinkle in 2 tablespoons all-purpose flour. Stir constantly with a whisk over medium heat for 2-3 minutes until the mixture turns light golden.
- Gradually pour in 2 cups (480 ml) of broth while whisking continuously to prevent lumps and thicken the gravy evenly.
- Let the gravy simmer gently for 5-7 minutes, whisking occasionally until smooth and pourable. Add salt and freshly ground black pepper to taste. Add herbs or garlic if using.
- Adjust consistency by whisking in more broth or water if too thick, or simmer longer if too thin.
- Optionally strain the gravy through a fine mesh strainer for an ultra-smooth finish.
- Serve warm over roasted meat, mashed potatoes, or skillet dishes.
Notes
Use low-sodium broth to control salt. For gluten-free, substitute flour with cornstarch or almond flour. Add broth slowly while whisking to avoid lumps. Rest meat before making gravy for best results. Strain gravy for a smoother texture if desired.
Nutrition
- Serving Size: 1/4 cup (60 ml)
- Calories: 60
- Sodium: 150
- Fat: 4
- Saturated Fat: 2.5
- Carbohydrates: 4
- Protein: 1
Keywords: pan drippings gravy, easy gravy recipe, restaurant-quality gravy, roast gravy, quick gravy, homemade gravy, pan sauce