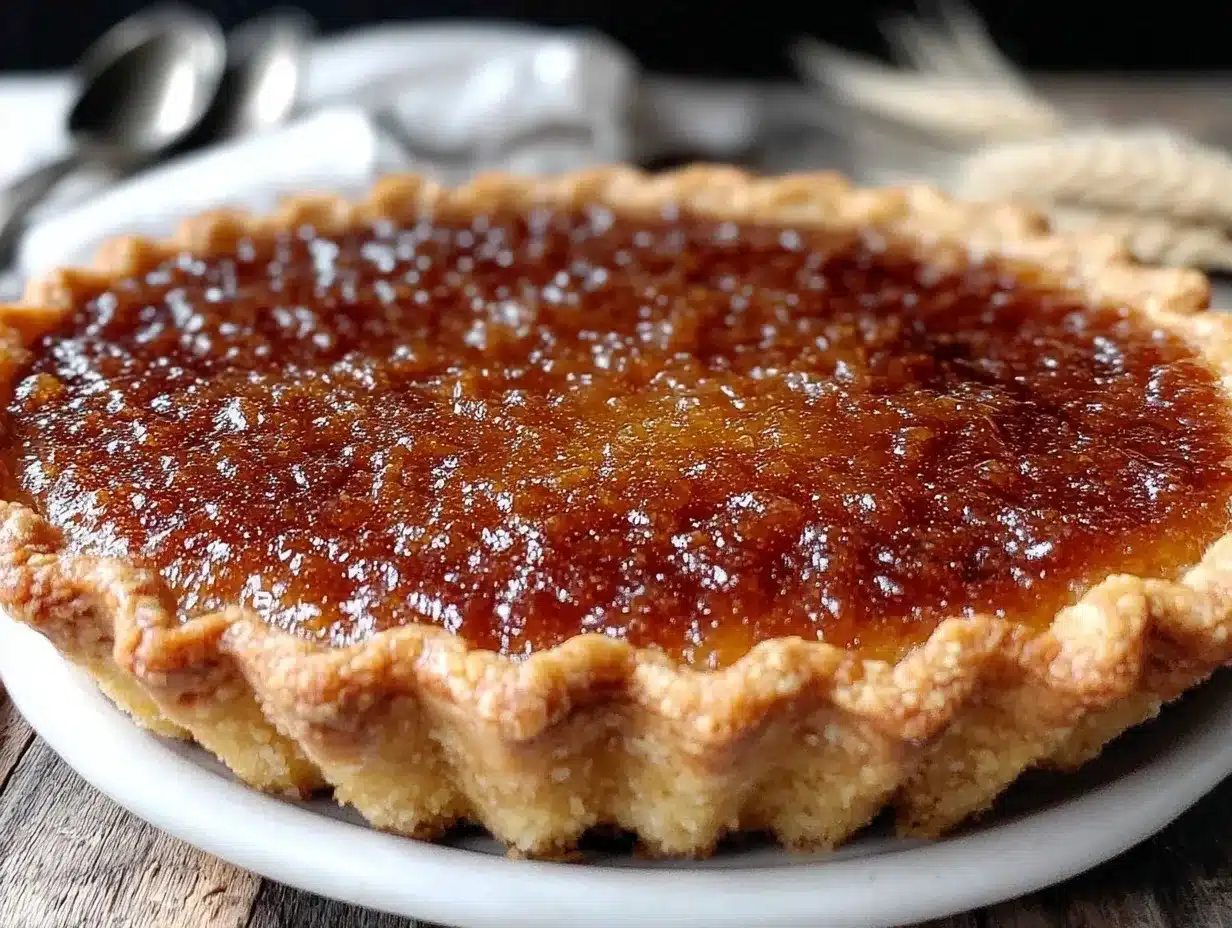
Let me tell you, the smell of a freshly baked water pie wafting from the oven is something downright magical. That gentle, sweet creaminess filling the kitchen makes you pause, take a deep breath, and just smile because you know you’re onto something truly special. The first time I baked this cozy water pie, I was knee-high to a grasshopper, or so it feels, trying to recreate a dessert my grandma used to make during chilly fall evenings.
I honestly didn’t expect much at first—after all, how could a pie made from just a handful of simple ingredients taste so comforting? But once it came out golden, with its silky, sweet creamy filling, I was instantly hooked. My family couldn’t stop sneaking slices off the cooling rack (and I can’t really blame them). It’s dangerously easy, a little nostalgic, and perfect for any occasion that calls for a little sweetness without fuss.
This water pie has become a staple for family gatherings, weekend treats, and those rainy afternoons when you just want something warm and homey. You know what? It feels like a warm hug on a plate, and you’re going to want to bookmark this one for your next cozy baking session.
Why You’ll Love This Recipe
Having tested this water pie recipe more times than I can count (in the name of research, of course), I can confidently say it’s a keeper. Here’s why you’re going to love making and eating it:
- Quick & Easy: Comes together in under 30 minutes, perfect for busy weeknights or last-minute dessert cravings.
- Simple Ingredients: You likely already have the 5 ingredients in your pantry—no fancy grocery runs needed.
- Perfect for Cozy Moments: Ideal for chilly evenings, potlucks, or a sweet finish to Sunday dinner.
- Crowd-Pleaser: Both kids and adults rave about its creamy, sweet filling and flaky crust.
- Unbelievably Delicious: The silky texture combined with a subtle sweetness feels like pure, nostalgic comfort food.
What sets this water pie apart is the magic of its simple sweet creamy filling—no heavy creams, no complicated custards, just a few pantry staples coming together in perfect harmony. The secret is the balance of sugar, butter, and a touch of vanilla that creates that melt-in-your-mouth experience. This isn’t just another pie recipe; it’s the one you’ll want to come back to again and again, especially when you want a dessert that feels homemade but requires minimal effort.
What Ingredients You Will Need
This water pie recipe uses simple, wholesome ingredients to deliver bold flavor and satisfying texture without the fuss. These are all pantry staples that most home bakers keep handy, making this recipe a lifesaver on busy days.
- Pie Crust: One 9-inch (23 cm) unbaked pie crust, store-bought or homemade (I like using [brand] for a flaky texture)
- Water: 1 cup (240 ml) room temperature water – yes, it’s the star of the show!
- Granulated Sugar: 1 cup (200 g) – balances the filling with just the right sweetness
- Unsalted Butter: 4 tablespoons (57 g), softened – adds richness and creaminess
- Large Egg: 1, room temperature – helps set the filling
- Vanilla Extract: 1 teaspoon (5 ml) – for that cozy, aromatic touch (use pure vanilla for best flavor)
Optional: A pinch of salt if your butter is unsalted, to bring out the sweetness.
If you want a dairy-free spin, swap butter with coconut oil or a vegan margarine. For gluten-free, a pre-made gluten-free pie crust works beautifully here. The beauty of this recipe is its flexibility without losing that cozy, creamy essence.
Equipment Needed
- 9-inch (23 cm) pie dish – glass or metal works fine; I prefer glass for even baking
- Mixing bowl – medium size for combining ingredients
- Whisk or fork – to beat the egg and mix the filling
- Measuring cups and spoons – for accuracy (especially important with sugar)
- Oven mitts – safety first when handling hot pies
- Cooling rack – to let your pie cool perfectly without sogginess
If you don’t have a whisk, a sturdy fork will do just fine for mixing. I’ve baked this pie in both glass and metal pans and noticed the metal pans brown the crust slightly faster, so keep an eye on it. For a budget option, any basic pie dish will work beautifully here, no need for fancy bakeware.
Preparation Method
- Preheat your oven to 350°F (175°C). This temperature is just right for slowly setting the filling without burning the crust.
- Prepare your pie crust: If using store-bought, place it in your 9-inch pie dish, gently pressing it against the edges. Trim any excess dough hanging over the sides. I like to crimp the edges with my fingers for a rustic look.
- Mix the filling: In a medium bowl, combine 1 cup (240 ml) of room temperature water, 1 cup (200 g) granulated sugar, 4 tablespoons (57 g) softened unsalted butter, 1 large room temperature egg, and 1 teaspoon (5 ml) vanilla extract. Whisk everything together until the sugar dissolves and the mixture looks smooth and creamy—this usually takes about 2-3 minutes.
- Pour the filling: Carefully pour this sweet, creamy mixture into the prepared pie crust. You’ll see it’s quite liquidy, but don’t worry—that’s exactly how it should be.
- Bake: Place the pie on the middle rack of your preheated oven. Bake for about 45-55 minutes. You’ll know it’s done when the filling is set and slightly puffed up, with a golden top. The edges of the crust should be nicely browned. A gentle jiggle in the middle is okay; it will firm up as it cools.
- Cool completely: This step is crucial. Let the water pie cool on a wire rack for at least 2 hours before slicing. This allows the filling to fully set and develop that creamy texture you’re after.
Tips: If you notice the crust edges browning too quickly, cover them with foil or a pie crust shield halfway through baking. Also, if you want a shinier finish, you can brush the crust with a little beaten egg before baking. Trust me, these small touches make a difference!
Cooking Tips & Techniques
Honestly, water pie might sound like an odd name, but it’s a classic for a reason. Here are some cooking tips I’ve learned through trial and error (and a few burnt crusts along the way):
- Room temperature ingredients matter: Using room temperature water and egg helps the filling combine better, avoiding lumps or uneven texture.
- Don’t rush the cooling: The filling looks fragile right out of the oven, but patience here rewards you with that silky, creamy slice.
- Watch the crust edges: Water pie filling is delicate, and burnt edges can throw off the whole experience. Use foil shields if needed.
- Mixing method: Whisking the butter into the sugar and water thoroughly creates a luscious texture. If butter isn’t softened enough, it won’t blend well.
- Multitasking: While the pie bakes, you can prep a quick salad or tidy the kitchen—just don’t forget to check on it around the 40-minute mark to avoid over-baking.
Cooking this pie is like getting a little lesson in custard-making but way less intimidating. I’ve learned that gentle mixing, careful baking, and patient cooling are your best friends here.
Variations & Adaptations
This recipe is wonderfully flexible, which is great because who doesn’t like to personalize cozy desserts? Here are some of my favorite twists:
- Spiced Water Pie: Add ½ teaspoon ground cinnamon or nutmeg to the filling for a warm, autumn vibe.
- Chocolate Water Pie: Stir ¼ cup (25 g) cocoa powder into the sugar before whisking in the water for a subtle chocolate kick.
- Vegan Adaptation: Swap butter for coconut oil and use a flax egg (1 tbsp flaxseed meal + 3 tbsp water, mixed and rested 5 minutes) in place of the egg. Use a dairy-free pie crust.
- Gluten-Free Version: Use a pre-made gluten-free pie crust and follow the recipe as is. The filling remains naturally gluten-free.
- Fruit-Infused: Add a handful of fresh blueberries or sliced peaches before baking for a fruity surprise.
I once tried adding lemon zest and a splash of fresh lemon juice to brighten up the filling—it was a refreshing twist that my family surprisingly loved!
Serving & Storage Suggestions
Water pie is best enjoyed at room temperature or slightly chilled. When you serve it, a dollop of whipped cream or a scoop of vanilla ice cream makes it extra special. Honestly, it pairs beautifully with a hot cup of tea or coffee, especially on a quiet afternoon.
To store, cover the pie tightly with plastic wrap or foil and keep it in the refrigerator. It stays fresh for up to 3 days. You can also freeze slices wrapped individually in plastic and foil for up to a month. When reheating, warm gently in a low oven (around 275°F/135°C) for 10-15 minutes to bring back that creamy softness without drying it out.
Interestingly, the flavors mellow and deepen after a day, making leftovers even better the next day—if you can resist eating it all in one sitting!
Nutritional Information & Benefits
This water pie is a surprisingly light treat considering its creamy texture. Here’s an estimate per slice (based on 8 slices):
| Calories | 220 |
|---|---|
| Fat | 11 g |
| Saturated Fat | 7 g |
| Carbohydrates | 28 g |
| Sugar | 17 g |
| Protein | 2 g |
The main ingredients like butter and egg provide fat and protein, while the sugar adds sweetness. It’s not a health food per se, but it’s a little indulgence that brings comfort without being overly heavy or rich. For those with dietary concerns, this recipe can be adapted easily to be gluten-free or dairy-free.
Personally, I like pairing a slice with a piece of fruit or a handful of nuts to balance the sweetness, making it feel like a more rounded treat.
Conclusion
In a world full of complicated desserts, this cozy water pie stands out by keeping things simple but oh-so-satisfying. It’s a recipe that feels like home, with its sweet creamy filling and flaky crust coming together in perfect harmony. Whether you’re baking for family, friends, or just yourself, this pie is an easy, trustworthy go-to that never disappoints.
Feel free to play around with the variations or keep it classic—the most important part is enjoying every bite. Honestly, I’ve loved this recipe for years and it still warms my heart every time I bake it.
Now it’s your turn! Try the recipe, share your tweaks, or just tell me how much you loved it in the comments below. Let’s keep this cozy tradition going strong!
FAQs
What exactly is water pie?
Water pie is a classic Southern dessert that uses water as the main liquid ingredient to create a sweet, creamy custard-like filling. It’s simple, delicious, and comforting.
Can I make water pie without eggs?
Yes! You can substitute the egg with a flax egg (1 tablespoon flaxseed meal mixed with 3 tablespoons water) for a vegan-friendly alternative.
Why does the recipe use water instead of milk or cream?
Using water keeps the pie light and surprisingly creamy thanks to the sugar and butter. It’s a traditional method that makes the pie unique and less heavy than custards made with dairy.
How do I know when the water pie is done baking?
The filling should be mostly set with a slight jiggle in the center and a golden top. The crust edges should be browned but not burnt.
Can I prepare water pie in advance?
Absolutely! Bake it a day ahead and refrigerate. The flavors meld beautifully overnight, and it’s convenient for gatherings or meal prep.
Pin This Recipe!
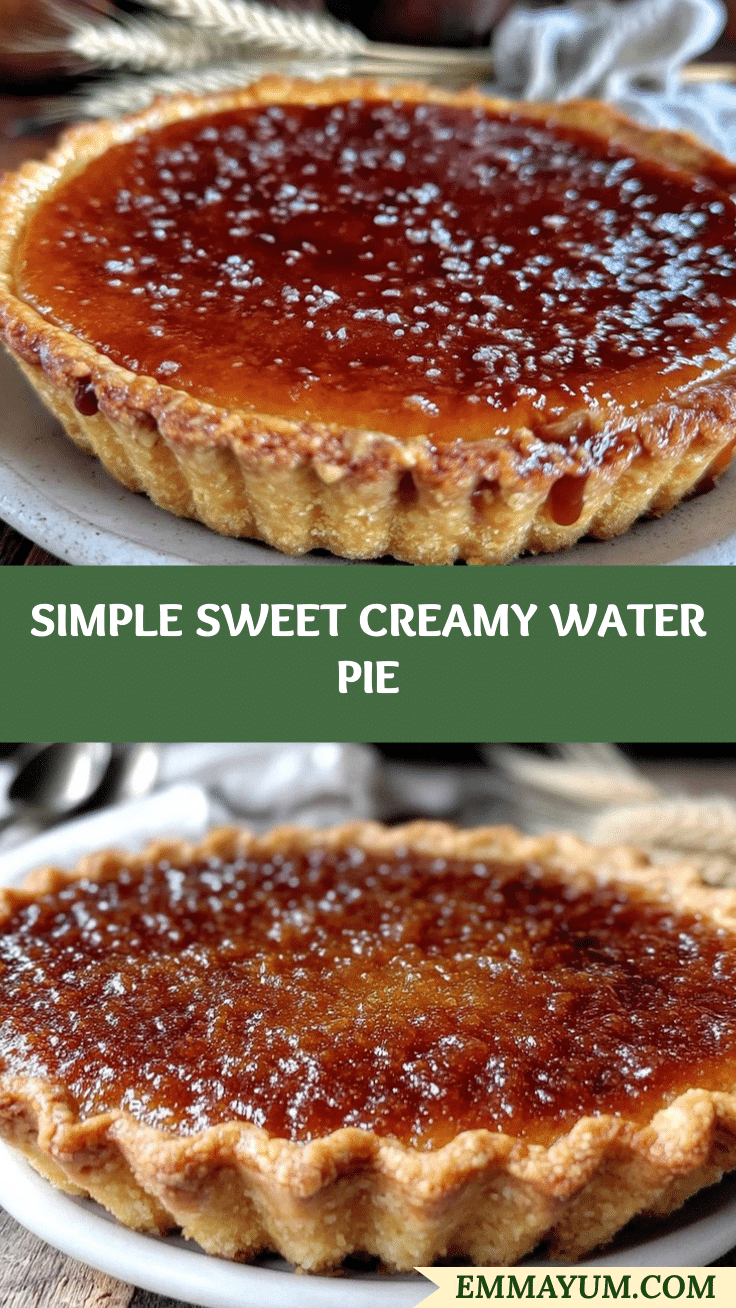
Water Pie Recipe Easy 5-Ingredient Cozy Sweet Creamy Filling

A simple and nostalgic water pie with a silky, sweet creamy filling made from just five pantry staples. Perfect for cozy moments and easy to prepare.
- Prep Time: 10 minutes
- Cook Time: 50 minutes
- Total Time: 2 hours 60 minutes
- Yield: 8 servings 1x
- Category: Dessert
- Cuisine: Southern American
Ingredients
- 1 9-inch (23 cm) unbaked pie crust, store-bought or homemade
- 1 cup (240 ml) room temperature water
- 1 cup (200 g) granulated sugar
- 4 tablespoons (57 g) unsalted butter, softened
- 1 large egg, room temperature
- 1 teaspoon (5 ml) vanilla extract
- Optional: pinch of salt if using unsalted butter
Instructions
- Preheat your oven to 350°F (175°C).
- Place the pie crust in a 9-inch pie dish, pressing gently against the edges and trimming any excess dough. Crimp edges if desired.
- In a medium mixing bowl, whisk together the water, granulated sugar, softened butter, egg, and vanilla extract until the sugar dissolves and the mixture is smooth and creamy (about 2-3 minutes).
- Pour the filling into the prepared pie crust; it will be liquidy.
- Bake on the middle rack for 45-55 minutes until the filling is set and slightly puffed with a golden top and browned crust edges. A gentle jiggle in the center is okay.
- Cool the pie completely on a wire rack for at least 2 hours before slicing to allow the filling to fully set.
Notes
Use room temperature ingredients for best texture. Cover crust edges with foil if browning too quickly. Brush crust with beaten egg for a shinier finish. Let pie cool completely before slicing to set filling. Can substitute butter with coconut oil and egg with flax egg for vegan version. Gluten-free pie crust can be used for gluten-free adaptation.
Nutrition
- Serving Size: 1 slice (1/8 of pie)
- Calories: 220
- Sugar: 17
- Fat: 11
- Saturated Fat: 7
- Carbohydrates: 28
- Protein: 2
Keywords: water pie, easy pie recipe, 5-ingredient dessert, creamy pie, nostalgic dessert, simple pie, sweet pie, cozy dessert