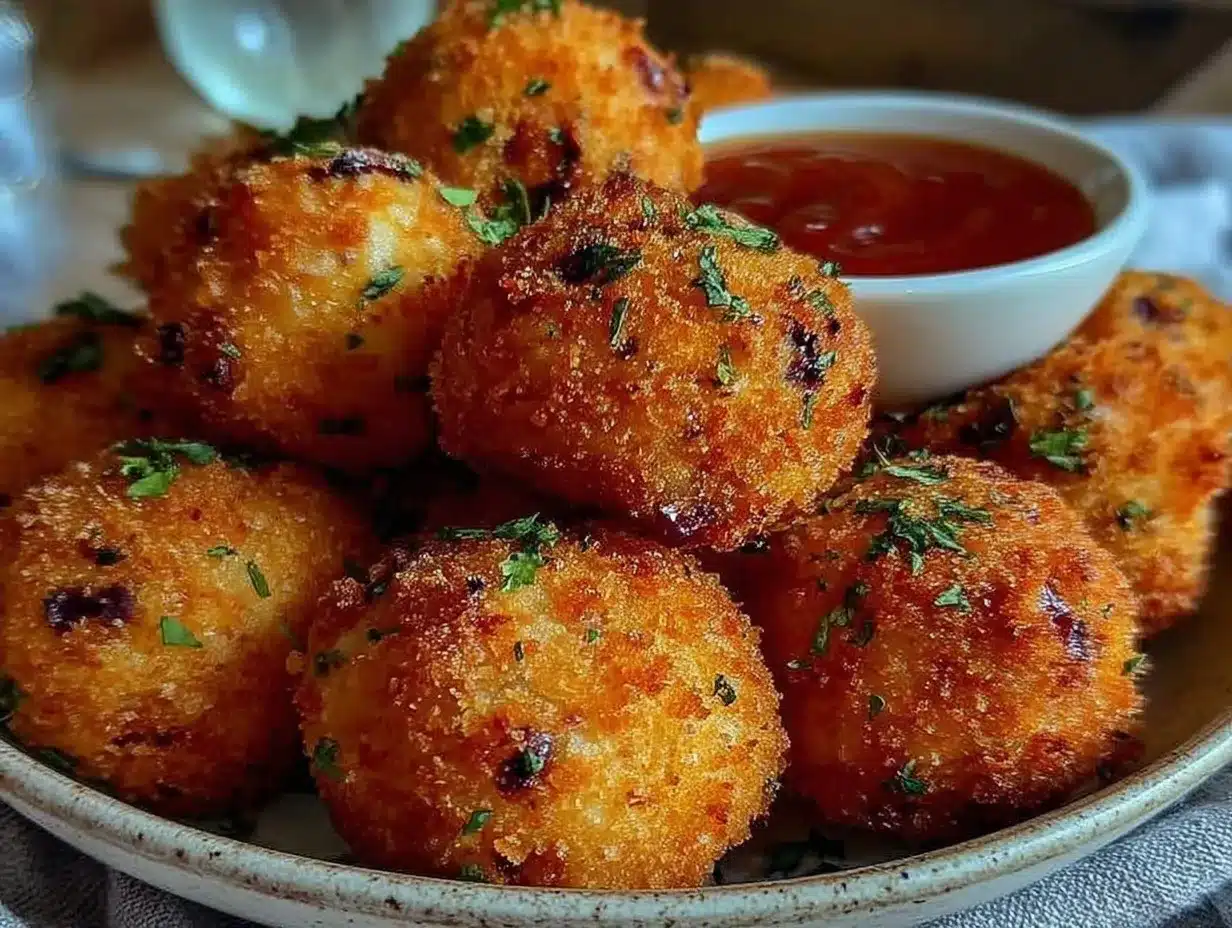
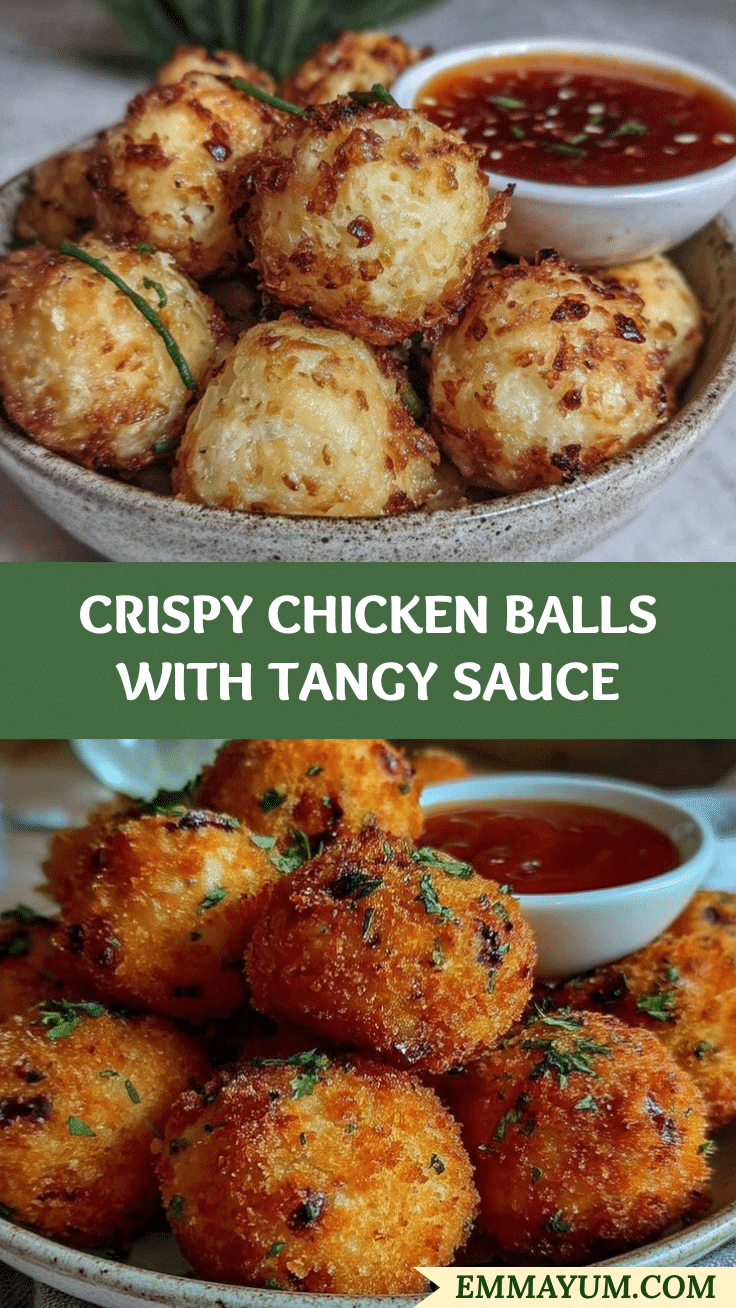
Picture this: perfectly golden, crispy chicken balls that crunch with every bite, paired with a tangy, sticky sweet and sour sauce that’s an absolute flavor explosion. The first time I made these, I was hooked—the kind of hooked where you immediately call everyone you know and gush about your new favorite recipe. These crispy chicken balls are the ultimate comfort food, and let me tell you, they’re dangerously easy to make (and even easier to devour). My family couldn’t stop dipping and munching, and honestly, I don’t blame them!
Back when I was a kid, crispy Chinese chicken balls were always a treat we ordered from our favorite local Chinese restaurant. But as I grew older, I wanted to recreate that irresistible crunch at home. After some trial and error (in the name of research, of course), I finally nailed it. This recipe has become a staple for family dinners, potlucks, and even game nights. There’s something so satisfying about making these from scratch—and the sweet and sour sauce? Pure magic. You’re going to want to bookmark this one for sure.
Why You’ll Love This Recipe
- Quick & Easy: Comes together in just about 30 minutes, making it perfect for busy weeknights.
- Simple Ingredients: No fancy groceries required—you likely already have everything in your pantry.
- Ultimate Comfort Food: Crispy, juicy chicken paired with an addictive sweet and tangy sauce.
- Crowd-Pleaser: Kids, adults, picky eaters—everyone loves these chicken balls.
- Restaurant Quality at Home: You’ll wow your guests with a dish that looks and tastes like it came straight from a Chinese restaurant.
What sets this recipe apart is the perfectly crispy coating combined with the homemade sweet and sour sauce. You’re not just frying chicken—you’re creating a dish that’s packed with flavor and texture. And when you dip those crunchy chicken balls into the vibrant red sauce, it’s the kind of bite that makes you smile (and maybe sneak one more before serving). Whether you’re impressing dinner guests or indulging in a cozy night at home, these chicken balls are a guaranteed hit.
What Ingredients You Will Need
This recipe uses simple, everyday ingredients that come together to create a dish that’s anything but ordinary. Here’s what you’ll need:
- For the Chicken Balls:
- 2 cups all-purpose flour
- 1 tablespoon cornstarch
- 1 teaspoon baking powder
- ½ teaspoon garlic powder
- ½ teaspoon onion powder
- 1 cup cold water
- 2 large chicken breasts, cut into bite-sized chunks
- Salt and pepper to taste
- For the Sweet and Sour Sauce:
- ½ cup ketchup
- ½ cup rice vinegar
- ½ cup granulated sugar
- 1 tablespoon soy sauce
- 1 tablespoon cornstarch mixed with 3 tablespoons water (for thickening)
- For Frying:
- Vegetable oil for deep frying
If you’re looking for substitutions, you can swap cornstarch with potato starch for a slightly different texture, or use gluten-free flour for a gluten-free option. For the sauce, you can try honey instead of sugar for a natural sweetness.
Equipment Needed
- Large mixing bowl
- Whisk
- Deep frying pan or deep fryer
- Slotted spoon or tongs
- Small saucepan
- Paper towels (for draining excess oil)
- Serving platter
If you don’t have a deep fryer, a heavy-bottomed pot works perfectly for frying. Just ensure you have enough oil to fully submerge the chicken balls. And if you don’t have a whisk, a fork will do the trick for mixing the batter.
Preparation Method
- Prepare the batter: In a large mixing bowl, whisk together the flour, cornstarch, baking powder, garlic powder, onion powder, and a pinch of salt and pepper. Gradually pour in the cold water while whisking until you get a smooth, slightly thick batter.
- Heat the oil: In a deep frying pan or pot, heat vegetable oil to 350°F (175°C). To test if the oil is ready, drop a small amount of batter in—it should sizzle and float to the top.
- Coat the chicken: Dip each piece of chicken into the batter, ensuring it’s fully covered. Let any excess batter drip off before carefully placing the chicken into the hot oil.
- Fry the chicken balls: Fry the chicken balls in batches, making sure not to overcrowd the pan. Cook for 4-6 minutes, turning occasionally, until golden brown and crispy. Use a slotted spoon to remove and drain on paper towels.
- Make the sweet and sour sauce: In a small saucepan, combine ketchup, rice vinegar, sugar, and soy sauce. Heat over medium, stirring until the sugar dissolves. Mix the cornstarch and water in a small bowl, then slowly add to the sauce, stirring constantly until thickened.
- Serve: Arrange the crispy chicken balls on a platter and serve with the sweet and sour sauce for dipping—or pour it over the top for extra flavor.
Cooking Tips & Techniques
- Keep the batter cold: Cold water in the batter helps create an extra crispy coating.
- Avoid overcrowding: Frying in small batches ensures the chicken balls cook evenly and stay crispy.
- Test the oil temperature: A consistent 350°F (175°C) is key for perfect frying. If the oil is too hot, the batter will burn before the chicken cooks; too cold, and the coating will be soggy.
- Don’t skip draining: Let the chicken balls rest on paper towels after frying to remove excess grease.
- Customize the sauce: Add a pinch of chili flakes for heat or a splash of pineapple juice for a tropical twist.
Variations & Adaptations
- Gluten-Free Option: Swap out the all-purpose flour for a gluten-free blend and ensure the soy sauce is gluten-free.
- Spicy Chicken Balls: Add cayenne pepper or chili powder to the batter for a kick of heat.
- Seasonal Twist: Serve with a fresh mango or pineapple salsa instead of the sweet and sour sauce for a summery vibe.
- Dairy-Free Adaptation: This recipe is naturally dairy-free, so it’s perfect for those avoiding dairy!
Personally, I’ve tried adding sesame seeds to the batter for a nutty flavor—it’s a small tweak that makes a big difference.
Serving & Storage Suggestions
These crispy chicken balls are best enjoyed fresh and hot, straight out of the fryer. Serve them on a platter with the sweet and sour sauce in a bowl for dipping, or drizzle the sauce over the top for a vibrant presentation. Pair with steamed rice or fried noodles for a complete meal, and don’t forget a side of stir-fried veggies for balance.
If you have leftovers (unlikely, but just in case!), store them in an airtight container in the refrigerator for up to 3 days. To reheat, pop them in the oven at 375°F (190°C) for 10-12 minutes to restore the crispiness. Avoid microwaving, as it can make the coating soggy.
Nutritional Information & Benefits
Each serving of crispy chicken balls (about 4-5 pieces with sauce) contains approximately:
- Calories: 320
- Protein: 18g
- Carbohydrates: 25g
- Fat: 15g
- Fiber: 1g
Chicken is a great source of lean protein, while the sweet and sour sauce can be adjusted for your dietary needs—use less sugar or opt for honey as a natural alternative. Just note that this dish contains gluten and is fried, so it’s best enjoyed in moderation.
Conclusion
If you’ve been searching for the ultimate homemade crispy Chinese chicken balls recipe, look no further. This dish is as fun to make as it is to eat, and with its satisfying crunch and tangy dipping sauce, it’s sure to become a favorite in your home. Whether you’re serving it at a party, a family dinner, or just indulging yourself, these chicken balls are a guaranteed hit.
I love this recipe because it brings back so many fond memories of sharing Chinese takeout with my family, but now I get to recreate those flavors myself. Try it out, and don’t be afraid to tweak the sauce or add your own spin. Got questions or ideas for variations? Leave a comment below—I’d love to hear from you! Happy cooking!
FAQs
- Can I bake these chicken balls instead of frying?
Yes! Preheat your oven to 400°F (200°C), place the coated chicken balls on a parchment-lined baking sheet, and bake for 20-25 minutes, flipping halfway through. - Can I freeze the chicken balls?
Absolutely! Freeze uncooked chicken balls on a tray, then transfer to a freezer-safe bag. Fry directly from frozen—just add extra cooking time. - How do I make this recipe vegetarian?
Replace the chicken with firm tofu or cauliflower florets for a tasty vegetarian version. - What if I don’t have rice vinegar?
You can use apple cider vinegar or white vinegar as a substitute, though the flavor may vary slightly. - Can I make the sauce ahead of time?
Yes, you can make the sauce up to 3 days ahead and store it in the fridge. Reheat it gently before serving.
Pin This Recipe!
Crispy Chinese Chicken Balls Recipe with Sweet Sauce
Perfectly golden, crispy chicken balls paired with a tangy, sticky sweet and sour sauce. A restaurant-quality comfort food that’s easy to make at home.
- Prep Time: 10 minutes
- Cook Time: 20 minutes
- Total Time: 30 minutes
- Yield: 4 servings 1x
- Category: Main Course
- Cuisine: Chinese
Ingredients
- 2 cups all-purpose flour
- 1 tablespoon cornstarch
- 1 teaspoon baking powder
- ½ teaspoon garlic powder
- ½ teaspoon onion powder
- 1 cup cold water
- 2 large chicken breasts, cut into bite-sized chunks
- Salt and pepper to taste
- ½ cup ketchup
- ½ cup rice vinegar
- ½ cup granulated sugar
- 1 tablespoon soy sauce
- 1 tablespoon cornstarch mixed with 3 tablespoons water
- Vegetable oil for deep frying
Instructions
- In a large mixing bowl, whisk together the flour, cornstarch, baking powder, garlic powder, onion powder, and a pinch of salt and pepper. Gradually pour in the cold water while whisking until you get a smooth, slightly thick batter.
- In a deep frying pan or pot, heat vegetable oil to 350°F (175°C). To test if the oil is ready, drop a small amount of batter in—it should sizzle and float to the top.
- Dip each piece of chicken into the batter, ensuring it’s fully covered. Let any excess batter drip off before carefully placing the chicken into the hot oil.
- Fry the chicken balls in batches, making sure not to overcrowd the pan. Cook for 4-6 minutes, turning occasionally, until golden brown and crispy. Use a slotted spoon to remove and drain on paper towels.
- In a small saucepan, combine ketchup, rice vinegar, sugar, and soy sauce. Heat over medium, stirring until the sugar dissolves. Mix the cornstarch and water in a small bowl, then slowly add to the sauce, stirring constantly until thickened.
- Arrange the crispy chicken balls on a platter and serve with the sweet and sour sauce for dipping—or pour it over the top for extra flavor.
Notes
[‘Keep the batter cold for an extra crispy coating.’, ‘Fry in small batches to ensure even cooking and crispiness.’, ‘Maintain oil temperature at 350°F (175°C) for perfect frying.’, ‘Drain chicken balls on paper towels to remove excess grease.’, ‘Customize the sauce with chili flakes for heat or pineapple juice for a tropical twist.’]
Nutrition
- Serving Size: 4-5 chicken balls wi
- Calories: 320
- Fat: 15
- Carbohydrates: 25
- Fiber: 1
- Protein: 18
Keywords: crispy chicken balls, sweet and sour sauce, Chinese recipe, comfort food, homemade Chinese food