Introduction
“You really think this will work?” my friend asked, watching me nervously as I crushed the chocolate cookies for the base. Honestly, I wasn’t sure either. I had this stash of Cadbury eggs leftover from Easter, and a craving for something sweet that didn’t require firing up the oven after a long day. The idea of a no-bake cheesecake jar came up almost as a joke—could I make those creamy Cadbury eggs the star of a dessert that’s as fun to eat as it is to make?
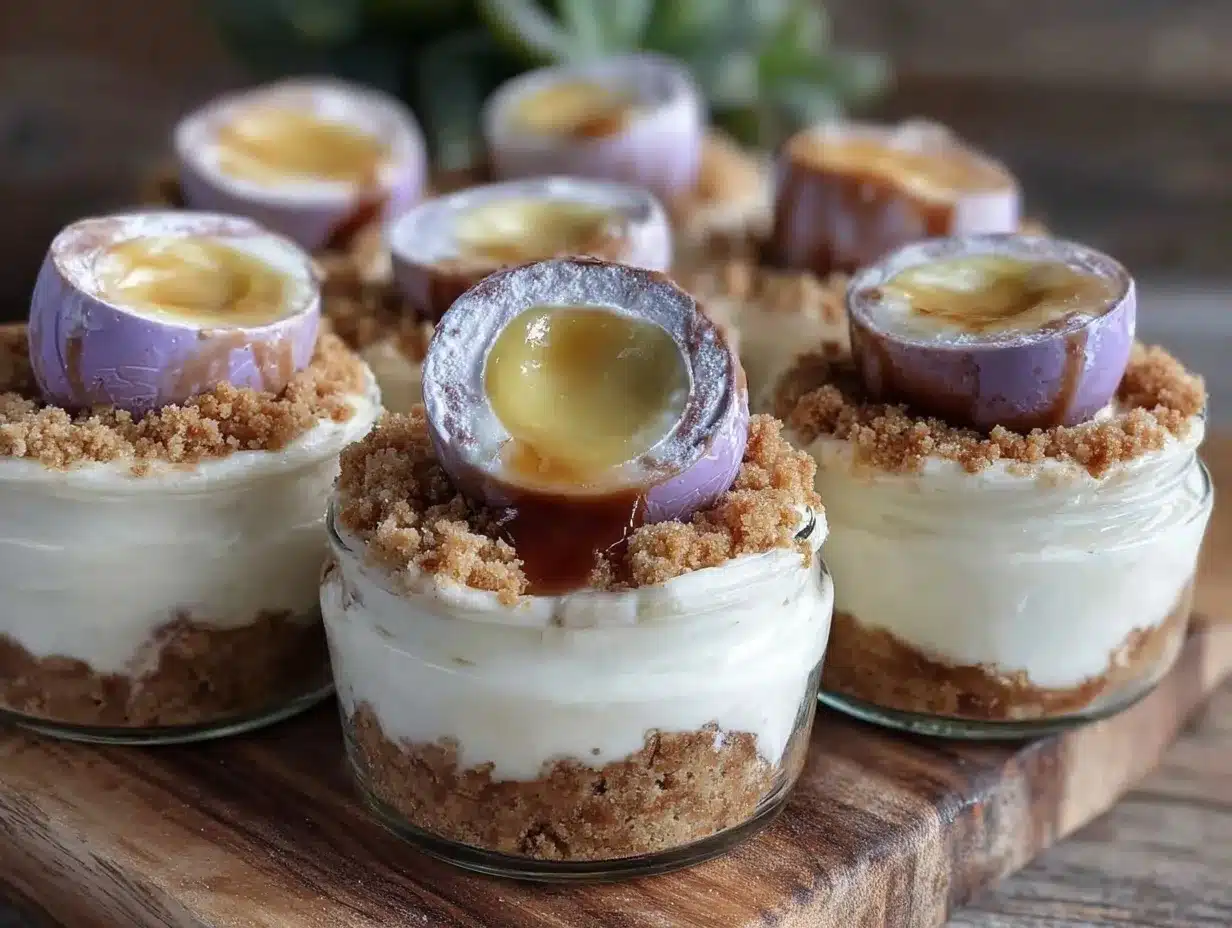
Fast forward a few hours, and I was scooping out thick, velvety layers of cheesecake filling with chunks of those iconic eggs, layering it atop a crumbly chocolate base in cute little jars. The smoothness surprised me, the balance of sweet and tangy hit just right, and the texture was downright dreamy. It quickly became a go-to during that spring week when I was juggling work deadlines and late-night cravings. The best part? No oven, no fuss, just a fridge wait and pure indulgence.
There’s something a little magical about this combo—the nostalgia of Cadbury eggs meeting the classic comfort of cheesecake, all served in handy single portions. It’s like a small celebration in a jar, and honestly, it’s stuck with me ever since, especially when I want a quick dessert that feels special without the stress.
Why You’ll Love This Recipe
This creamy no-bake Cadbury egg cheesecake jars recipe isn’t just another dessert; it’s a little slice of springtime joy you can whip up on a whim. Here’s why it’s earned a permanent spot in my rotation:
- Quick & Easy: Ready in under 30 minutes, perfect for busy evenings or unexpected guests.
- Simple Ingredients: Uses pantry staples plus those Easter favorites—no fancy shopping trips.
- Perfect for Spring & Easter: The Cadbury eggs bring a festive touch that’s ideal for holiday gatherings or casual weekend treats.
- Crowd-Pleaser: Kids and adults alike can’t resist the creamy, chocolatey layers.
- Unbelievably Delicious: The texture is silky smooth, with just the right crunch from the cookie base and chunks of Cadbury egg.
What sets this recipe apart is how it blends the familiar with the unexpected. Instead of a traditional cheesecake, this no-bake version embraces the creaminess of softened cream cheese combined with whipped cream for that light, airy feel. The crushed Cadbury eggs folded in bring bursts of sweet, melty chocolate and gooey caramel that you don’t get in regular cheesecakes. Plus, serving them in jars means portion control and presentation come at no extra effort—talk about a win-win.
Honestly, this recipe isn’t just a treat; it’s a little reminder that dessert doesn’t have to be complicated to feel indulgent. It’s the kind of thing you’ll want to make again and again, especially when you want a fuss-free sweet that still impresses.
What Ingredients You Will Need
This recipe uses simple, wholesome ingredients to deliver bold flavor and satisfying texture without the fuss. Most of these are pantry staples, and the Cadbury eggs add that seasonal twist that makes it special.
- For the Base:
- Chocolate sandwich cookies (like Oreos), about 24 cookies, crushed (the crunchy foundation)
- Unsalted butter, 6 tablespoons (85g), melted (helps bind the crumbs)
- For the Cheesecake Filling:
- Cream cheese, 16 oz (450g), softened (room temperature for smooth blending)
- Powdered sugar, ¾ cup (90g), sifted (for sweetness without grittiness)
- Heavy whipping cream, 1 cup (240ml), cold (for that fluffy, airy texture)
- Vanilla extract, 1 teaspoon (adds depth and warmth)
- For the Cadbury Egg Layer:
- Cadbury mini eggs, 8-10, roughly chopped (this is the star ingredient—melty, creamy, caramel-filled goodness)
Optional: For an extra touch, a pinch of salt in the base balances the sweetness. If you want to swap the cookies for a gluten-free option, try gluten-free chocolate wafers or almond flour mixed with cocoa powder.
I usually reach for Nabisco Oreos for the base—they crush nicely and have a great chocolate punch. When it comes to cream cheese, Philadelphia brand is my go-to for consistency. And don’t skip on the heavy whipping cream; it makes all the difference in texture. If you’re out of Cadbury eggs, you can use any caramel-filled chocolate candies, but honestly, the original Cadbury eggs have that perfect combo of flavors.
Equipment Needed
- Mixing bowls (one large and one medium work well)
- Electric mixer or stand mixer with whisk attachment (for whipping cream and smooth filling)
- Food processor or plastic bag and rolling pin (to crush the cookies)
- Measuring cups and spoons (for precise amounts)
- Spatula (to fold ingredients carefully)
- Small jars or dessert glasses (about 4-6 oz / 120-180 ml capacity each, for serving)
If you don’t have a food processor, no worries—place the cookies in a ziplock bag and crush with a rolling pin or heavy pan. I’ve done this countless times, and it works just as well (messier but satisfying!). For mixing, a handheld electric mixer is fine, but a stand mixer speeds things up and keeps your hands free.
Glass jars add that rustic charm, but small ramekins or even plastic cups work fine if you want to make these for a picnic or party. Just make sure they’re sturdy enough to handle slicing or scooping without cracking.
Preparation Method
- Prepare the base: Start by crushing the chocolate sandwich cookies until you have fine crumbs with some small chunks for texture. About 24 cookies should give you 1 ½ cups (150g) of crumbs. Mix the crumbs with 6 tablespoons (85g) of melted unsalted butter until evenly combined and the mixture holds together when pressed. This should take about 5 minutes.
- Assemble the base in jars: Spoon about 2 tablespoons (30g) of the cookie crumb mixture into the bottom of each jar. Press down firmly with the back of a spoon or your fingers to create a compact base. Refrigerate while you prepare the filling to help it set, around 10 minutes.
- Make the cheesecake filling: In a large bowl, beat 16 oz (450g) softened cream cheese with ¾ cup (90g) powdered sugar and 1 teaspoon vanilla extract until smooth and creamy. This usually takes 3-4 minutes on medium speed. Be patient—no lumps!
- Whip the cream: In a separate bowl, whip 1 cup (240ml) cold heavy whipping cream until stiff peaks form. This step is crucial for that light, fluffy texture. It should take about 5 minutes on high speed.
- Fold the whipped cream: Gently fold the whipped cream into the cream cheese mixture using a spatula. Do this carefully to keep the airiness—no vigorous stirring! The mixture should look smooth and light.
- Chop the Cadbury eggs: Roughly chop 8-10 Cadbury mini eggs into small chunks. You want some bigger pieces for texture and some smaller bits to spread the flavor evenly.
- Layer the cheesecake jars: Add a spoonful of the cheesecake filling over the cookie base in each jar, then sprinkle some chopped Cadbury egg pieces on top. Repeat layering until jars are filled, ending with a few egg pieces as garnish. Usually, you’ll have enough for 4-6 jars depending on size.
- Chill: Refrigerate the jars for at least 4 hours, preferably overnight. This allows the cheesecake to firm up and the flavors to meld beautifully.
- Serve and enjoy: Just before serving, you can add a few extra Cadbury egg pieces or a dusting of cocoa powder for presentation. Grab a spoon and dig in!
Pro tip: If your cream cheese is too cold, it won’t mix smoothly, so give it time to soften at room temperature. Also, don’t over-whip the cream; you want it fluffy, not grainy. If your jars seem too full, you can always save some filling for a quick snack or use it as frosting on cupcakes.
Cooking Tips & Techniques
Getting the texture right is key for this no-bake cheesecake—and a few tricks help keep it creamy without being runny or dense.
- Softening the cream cheese: Let it sit out for about 30 minutes to room temperature. Cold cream cheese lumps up and makes mixing a headache, trust me.
- Whipping cream to stiff peaks: Chill your mixing bowl and beaters in the fridge beforehand. Cold equipment helps the cream whip faster and hold shape better.
- Folding technique: Use a gentle folding motion to combine whipped cream with cream cheese. Think of it like tucking in a soft blanket—you want to keep as much air in as possible for that light feel.
- Cookie crust press: Don’t just dump crumbs in the jars. Press firmly so the base holds when you scoop the cheesecake on top. It also prevents crumbling everywhere.
- Chilling time: Resist the urge to dig in right away! The fridge time helps the cheesecake set properly and flavors to marry. Overnight is best if you can wait.
- Handling Cadbury eggs: Chop them with a sharp knife on a sturdy cutting board. A serrated knife works well to avoid squishing the caramel center.
I once tried mixing the Cadbury eggs directly into the filling before folding in the cream. The caramel melted too much, making the texture sticky rather than pleasantly chunky. Layering the chunks separately preserves that delightful contrast.
Timing-wise, I often whip up the base and filling while dinner simmers or after putting the kids to bed. It’s a nice little project that doesn’t feel like work. Multitasking in the kitchen has saved many desserts, including this one!
Variations & Adaptations
There’s plenty of room for creativity with these cheesecake jars. Here are some ways to make them your own:
- Dietary swap: Use dairy-free cream cheese and coconut cream for a vegan-friendly version. Just chill the coconut cream overnight and scoop out the thick part for whipping.
- Seasonal twist: Swap Cadbury eggs for fresh strawberries or raspberries in summer for a fruity cheesecake jar that feels lighter but still indulgent.
- Flavor boost: Add a teaspoon of orange zest to the filling for a citrusy punch that pairs beautifully with the chocolate base.
- Crunch upgrade: Mix in crushed toasted pecans or almonds into the cookie base for extra texture.
- Alternative chocolates: If you want to try something different, chopped peanut butter cups or caramel-filled chocolates work great in place of Cadbury eggs.
I once added a swirl of homemade salted caramel sauce between layers for a richer indulgence—totally worth the extra effort on a weekend treat day.
Serving & Storage Suggestions
These cheesecake jars are best served chilled straight from the fridge. The creamy texture and chocolate chunks taste incredible cold and fresh.
For presentation, garnish with a few extra chopped Cadbury eggs or a light dusting of cocoa powder or edible gold dust if you’re feeling fancy. Pair with a cup of strong coffee or a glass of cold milk to balance the sweetness.
To store, cover each jar with a lid or plastic wrap and refrigerate for up to 3 days. The flavors actually deepen overnight, so leftovers are just as good—maybe even better! If you want to keep them longer, you can freeze the jars (without garnishes) for up to 1 month. Thaw overnight in the fridge before serving.
Reheating isn’t recommended since the texture changes, but if you’re craving a softer bite, let the jar sit at room temperature for 10-15 minutes before digging in.
Nutritional Information & Benefits
Each jar delivers a rich treat, with an estimated 350-400 calories depending on portion size. The cream cheese adds protein and calcium, while the heavy cream contributes fats that help keep you satisfied.
Keep in mind, this dessert is indulgent and sweet, thanks to the powdered sugar and Cadbury eggs. It’s not low-carb or sugar-free, but you can moderate portion sizes or try substituting with powdered erythritol for a lower-sugar version.
For those with gluten sensitivities, swapping the cookie base for gluten-free options makes it accessible without losing the chocolate crunch. The recipe naturally contains dairy and eggs, so it’s not suitable for those with those allergies unless adapted as noted.
From a wellness perspective, this dessert fits perfectly into a balanced lifestyle when enjoyed occasionally. The joy and comfort it brings are part of the recipe’s charm, too!
Conclusion
This creamy no-bake Cadbury egg cheesecake jars recipe is a keeper for anyone who loves an easy, sweet treat that still feels special. It’s got that perfect mix of creamy, crunchy, and melty, making every spoonful a little celebration. What I love most is how simple it is to make but how much it impresses—no one believes it’s no-bake until they taste it.
Feel free to tweak the flavors or swap ingredients based on what you have on hand or what you’re craving. Whether it’s an Easter dessert, a springtime indulgence, or a quick sweet fix after dinner, these jars won’t disappoint.
Give it a try and let me know how you make it your own—sharing your twists always makes my day. Here’s to sweet moments made easy!
Frequently Asked Questions
Can I make these cheesecake jars ahead of time?
Yes! They actually taste better after chilling overnight, which helps the flavors meld and the cheesecake to set perfectly.
What can I substitute for Cadbury eggs?
You can use any caramel-filled chocolates, peanut butter cups, or even chopped regular chocolate bars if Cadbury eggs aren’t available.
Can I freeze the cheesecake jars?
Yes, you can freeze them for up to one month without the garnish. Thaw in the fridge overnight before serving.
Is this recipe gluten-free?
Not as written, since the base uses sandwich cookies. Swap for gluten-free chocolate wafers or almond flour to make it gluten-free.
What happens if I over-whip the cream?
Over-whipping can turn the cream grainy and buttery, which affects the texture. Stop whipping as soon as stiff peaks form for the best result.
For those who enjoy quick homemade treats, this recipe pairs nicely with the easy no-churn cookies and cream ice cream I like to keep on hand. And if you want a cozy dessert with a warm touch, the creamy slow cooker potato soup is a comforting dinner idea that balances out the sweet indulgences.
Pin This Recipe!
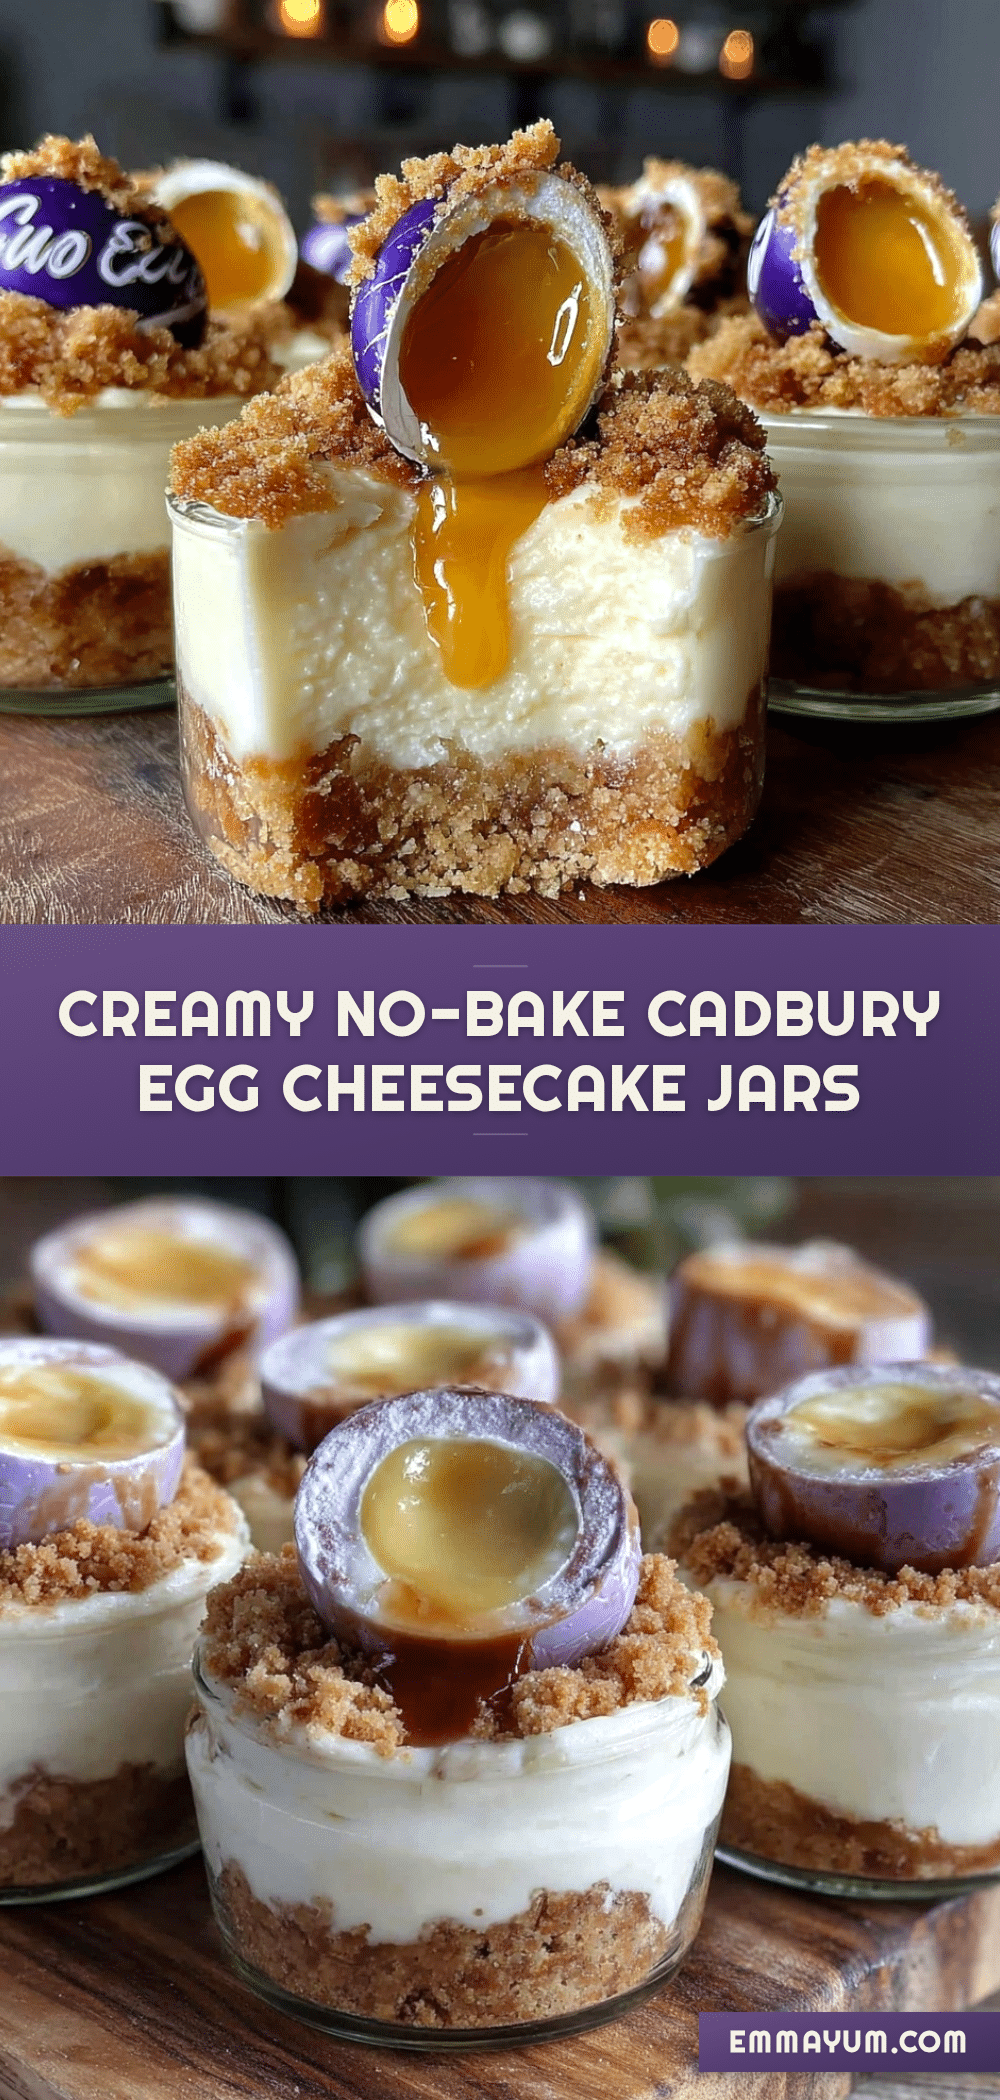
Creamy No-Bake Cadbury Egg Cheesecake Jars

A quick and easy no-bake cheesecake recipe featuring creamy layers with chunks of Cadbury eggs, served in individual jars for a festive spring dessert.
- Prep Time: 15 minutes
- Cook Time: 0 minutes
- Total Time: 4 hours 15 minutes
- Yield: 4-6 servings 1x
- Category: Dessert
- Cuisine: American
Ingredients
- 24 chocolate sandwich cookies (like Oreos), crushed
- 6 tablespoons (85g) unsalted butter, melted
- 16 oz (450g) cream cheese, softened
- 3/4 cup (90g) powdered sugar, sifted
- 1 cup (240ml) heavy whipping cream, cold
- 1 teaspoon vanilla extract
- 8–10 Cadbury mini eggs, roughly chopped
- Optional: pinch of salt for the base
- Optional: gluten-free chocolate wafers or almond flour mixed with cocoa powder for gluten-free base
Instructions
- Crush the chocolate sandwich cookies until you have about 1 ½ cups (150g) of crumbs with some small chunks for texture.
- Mix the cookie crumbs with 6 tablespoons (85g) melted unsalted butter until evenly combined and the mixture holds together when pressed, about 5 minutes.
- Spoon about 2 tablespoons (30g) of the cookie crumb mixture into the bottom of each jar and press down firmly to create a compact base. Refrigerate for 10 minutes.
- In a large bowl, beat 16 oz (450g) softened cream cheese with 3/4 cup (90g) powdered sugar and 1 teaspoon vanilla extract until smooth and creamy, about 3-4 minutes on medium speed.
- In a separate bowl, whip 1 cup (240ml) cold heavy whipping cream until stiff peaks form, about 5 minutes on high speed.
- Gently fold the whipped cream into the cream cheese mixture using a spatula, keeping the mixture light and airy.
- Roughly chop 8-10 Cadbury mini eggs into small chunks.
- Layer the cheesecake filling over the cookie base in each jar, then sprinkle some chopped Cadbury egg pieces on top. Repeat layering until jars are filled, ending with a few egg pieces as garnish.
- Refrigerate the jars for at least 4 hours, preferably overnight, to allow the cheesecake to firm up and flavors to meld.
- Before serving, optionally garnish with extra Cadbury egg pieces or a dusting of cocoa powder.
Notes
Let cream cheese soften to room temperature before mixing to avoid lumps. Chill mixing bowl and beaters for better whipped cream. Fold whipped cream gently to keep airiness. Press cookie crust firmly in jars. Chill cheesecake jars overnight for best texture and flavor. Chop Cadbury eggs with a serrated knife to avoid squishing caramel. Can substitute caramel-filled chocolates if Cadbury eggs are unavailable. For gluten-free, swap cookie base with gluten-free wafers or almond flour mixture.
Nutrition
- Serving Size: One jar (approximate
- Calories: 350400
- Sugar: 22
- Sodium: 220
- Fat: 28
- Saturated Fat: 16
- Carbohydrates: 28
- Fiber: 1
- Protein: 6
Keywords: no-bake cheesecake, Cadbury egg dessert, spring dessert, Easter dessert, cheesecake jars, easy cheesecake, no oven dessert