“You really want to make jelly from those weeds?” my friend asked, eyebrows raised as I held up a bunch of bright yellow dandelion blossoms. Honestly, I was skeptical myself at first. The idea came on a whim one late spring afternoon when I found my backyard dotted with these sunny flowers, and I was craving something fresh and a little different in the pantry. I remembered my grandma once mentioning dandelion syrup, but jelly? That was new territory.
After a bit of trial and error—mostly figuring out how to get the bitterness just right and balancing it with lemon’s zing—I ended up with a batch of dandelion lemon jelly that surprised everyone who tasted it. The floral, slightly honeyed notes paired with bright citrus tang made it feel like sunshine captured in a jar. Even the skeptics turned into believers after the first spoonful. Now, I find myself making it repeatedly through the season, gifting jars to friends, and sneaking it onto toast during quiet mornings.
There’s something quietly satisfying about turning a common, overlooked flower into a sweet, spreadable treat. It’s a reminder that sometimes the simplest ingredients, gathered at just the right moment, can become unexpectedly delightful. This fresh homemade dandelion lemon jelly recipe stuck with me because it’s not just jelly—it’s a little wild, a little sweet, and totally homegrown magic you can eat.
Why You’ll Love This Fresh Homemade Dandelion Lemon Jelly Recipe
After a few seasons of testing, tweaking, and sharing, I can say this recipe holds its own among classic jellies. Here’s why it’s become a favorite:
- Quick & Easy: You can have your dandelion lemon jelly ready in about 1 hour, perfect for when dandelions are in full bloom and you want a refreshing homemade preserve without fuss.
- Simple Ingredients: The recipe calls for everyday pantry items plus fresh dandelion flowers and lemon, so no special trips to specialty stores.
- Perfect for Spring & Early Summer: It’s a seasonal delight that celebrates wild-foraged flavors, ideal for brunch spreads, picnic baskets, or just sweetening up your morning.
- Crowd-Pleaser: The bright lemony zing balances the floral sweetness, making it a hit with both kids and adults who might usually shy away from “weird” jams.
- Unique Flavor Profile: Unlike typical berry or apple jellies, this one has a subtle, fresh floral note and a light honey-like undertone that’s honestly quite addictive.
This isn’t just another jelly recipe. The blend of fresh dandelion petals and lemon juice creates a perfectly balanced flavor—no overpowering bitterness, just that lovely natural sweetness with a hint of floral charm. Plus, making it yourself connects you to the seasons in a way that commercial jams just can’t match. If you love recipes that feel a little wild but totally accessible, this one will make you pause and savor.
Ingredients You Will Need for Fresh Homemade Dandelion Lemon Jelly
This recipe uses simple, wholesome ingredients to deliver bold flavor and satisfying texture without the fuss. Most are pantry staples, with the star being freshly picked dandelion flowers. Here’s what you’ll gather:
- Fresh dandelion flowers: About 4 cups of petals, picked from clean, pesticide-free areas (avoid the green parts, just the yellow petals)
- Water: 4 cups (950 ml) to steep the petals and extract flavor
- Lemon juice: ½ cup (120 ml), freshly squeezed (adds brightness and balances sweetness)
- Granulated sugar: 4 cups (800 g), standard white sugar works best for clear jelly
- Powdered pectin: 1 packet (about 1.75 oz or 50 g), I recommend Sure-Jell or Ball for consistent results
- Butter: 1 tablespoon (15 g), optional but helps reduce foaming during cooking
When picking dandelions, choose flowers that are fully open but not yet wilting to capture the best flavor. If fresh lemons aren’t available, bottled lemon juice can work in a pinch, but fresh is always better for that vibrant zing. For a slightly different twist, you might substitute part of the sugar with honey after the jelly has set (see variations).
Equipment Needed
- Large saucepan or pot: Wide enough to allow even simmering and stirring
- Fine mesh strainer or cheesecloth: For separating petals from the infused liquid
- Measuring cups and spoons: Accurate measurement is key for jelly success
- Wooden spoon or heatproof spatula: For stirring without scratching your pot
- Jelly jars or small canning jars: Sterilized and ready for filling
- Ladle: To transfer hot jelly into jars safely
- Jar funnel (optional): Makes filling jars neater and easier
If you don’t have a jelly or canning funnel, a regular funnel or even pouring carefully with a ladle works fine. For straining, cheesecloth yields a clearer jelly but takes longer; a fine mesh strainer is quicker but might let some tiny bits through. Personally, I’ve used both depending on time and patience.
Preparation Method
- Harvest and prep dandelion petals: Pick about 4 cups of bright yellow dandelion petals, avoiding green parts to prevent bitterness. Rinse gently in cold water to remove any dirt or bugs, then let drain in a colander. (Time: 10-15 minutes)
- Infuse the petals: Place the petals in a large saucepan and add 4 cups (950 ml) of water. Bring to a gentle boil, then reduce heat and simmer for about 10 minutes. The water will turn a golden color. (Look for a light honey tint.)
- Strain the infusion: Using a fine mesh strainer or cheesecloth, strain the liquid into a bowl or another pot, pressing lightly to extract as much flavor as possible. Discard the petals. (This step is crucial for clear jelly.)
- Add lemon juice and pectin: Pour the strained liquid back into the saucepan. Stir in ½ cup (120 ml) fresh lemon juice and the pectin powder. Mix well to dissolve. (Lemon juice helps the jelly set and adds brightness.)
- Bring to a boil and add sugar: Heat the mixture over medium-high heat, stirring constantly. When it reaches a full rolling boil, add 4 cups (800 g) granulated sugar all at once. Stir briskly to dissolve sugar completely.
- Boil hard for 1-2 minutes: Keep stirring and boil hard for 1-2 minutes until the jelly reaches setting point. Add 1 tablespoon butter to reduce foaming if needed. (Jelly should look thick and glossy.)
- Test the jelly: To check if the jelly is set, place a small spoonful on a cold plate and tilt it. If it wrinkles when pushed with your finger, it’s ready. If not, boil for another minute and test again.
- Jar the jelly: Remove from heat and skim off any foam. Ladle the hot jelly into sterilized jars, leaving about ¼ inch (6 mm) headspace. Wipe rims clean, seal with lids, and let cool at room temperature.
- Store and enjoy: Once cooled and set, store in the refrigerator for up to 3 weeks or process jars in a hot water bath for longer shelf life.
One tip I learned the hard way: don’t rush the boiling step. Jelly sets best when the sugar fully dissolves and the pectin activates with a good hard boil. Also, stirring constantly prevents burning or sticking, especially as the sugar heats up.
Cooking Tips & Techniques
Making jelly might sound straightforward, but a few tricks can really make a difference:
- Pick petals carefully: Always avoid those with any green or wilted parts to prevent bitterness in your jelly.
- Use fresh lemon juice: Bottled juice works, but fresh lemon juice brightens the flavor and helps the jelly set better.
- Stir constantly during boiling: Sugar can burn easily, so keep a close eye and keep stirring to avoid that unpleasant burnt taste.
- Watch the boil: Jelly needs a full rolling boil to activate the pectin. If it’s not boiling hard, the jelly might not set.
- Skim foam: Removing foam after boiling keeps your jelly clear and prettier in the jar, but it doesn’t affect taste.
- Test the set: That cold plate test is a lifesaver. Don’t skip it or you might end up with runny jelly.
- Don’t overcook: Boiling too long can break down pectin and affect texture, so stick to 1-2 minutes after adding sugar.
Personally, I’ve found that using a non-reactive pot (like stainless steel) helps keep flavors clean, and having everything pre-measured before you start keeps the process smooth and less stressful. If you’re interested in a creamy twist on sweet spreads, you might enjoy the easy no-churn cookies and cream ice cream recipe as a fun dessert pairing.
Variations & Adaptations
This dandelion lemon jelly recipe is wonderfully adaptable. Here are some variations you might like to try:
- Honey-sweetened: After cooking the jelly, stir in ¼ cup (85 g) of honey once the mixture cools slightly but before it sets. This adds a deeper floral sweetness and reduces granulated sugar by the same amount.
- Herbal infusion: Add a handful of fresh mint or basil leaves during the petal infusion step for a subtle herbal twist. Strain out with the petals.
- Low-sugar version: Use low-sugar pectin designed for reduced sugar jellies and cut granulated sugar by half. Follow package instructions carefully for best results.
- Spiced jelly: Add a cinnamon stick or a few cloves during the simmering phase, then remove before straining, for a warm spice note.
- Frozen dandelions: If you harvest more than you can use, petals freeze well. Thaw before infusing.
For an interesting contrast, serve this jelly alongside savory dishes like the skillet honey garlic pork chops—the sweet-tart jelly complements rich meats surprisingly well.
Serving & Storage Suggestions
This fresh homemade dandelion lemon jelly shines when served slightly chilled or at room temperature. It’s perfect spread on warm toast, swirled into yogurt, or spooned over creamy cheeses like brie or goat cheese for a fancy appetizer.
Consider pairing it with fresh-baked biscuits or scones for a bright springtime brunch. It also makes a charming gift, especially when presented in small jars with a rustic ribbon.
Store unopened jars in a cool, dark place if you process them via water bath canning. Once opened, keep refrigerated and use within 3 weeks for best flavor. The jelly’s flavor actually deepens and mellows slightly over a few days, so don’t rush to eat it all at once!
For longer storage, freeze jelly in airtight containers for up to 6 months. Thaw in the fridge and stir gently before serving.
Nutritional Information & Benefits
Per 1 tablespoon serving, this jelly typically contains around 50-60 calories, mostly from natural sugars. Dandelion petals are rich in antioxidants, vitamins A and C, and have been traditionally used for their anti-inflammatory properties.
Using real lemon juice adds vitamin C and a fresh boost of flavor without artificial additives. This jelly is naturally gluten-free and vegetarian, and can be adapted for vegan diets by swapping sugar with organic, vegan-certified varieties.
While it’s a sweet treat, the fresh floral notes and minimal processing make it a lighter, more wholesome option compared to commercial jellies loaded with preservatives.
Conclusion
If you’re looking for a fresh twist on homemade jelly, this dandelion lemon jelly recipe offers a unique, floral flavor that’s surprisingly easy to make. It’s a wonderful way to celebrate the season’s wild bounty and enjoy a taste of spring in a jar. I love how it brings a bit of unexpected brightness to breakfast or tea time, and I’m sure once you try it, you’ll find your own favorite ways to enjoy it.
Feel free to tweak the sweetness or add your own herbal touches—the kitchen is your playground after all! Don’t be shy about sharing your jelly experiments or questions; I’d love to hear how it goes for you. This jelly is a little slice of sunshine, ready to sweeten your day.
Frequently Asked Questions About Fresh Homemade Dandelion Lemon Jelly
Can I use whole dandelion flowers instead of just the petals?
It’s best to use only the yellow petals because the green parts are bitter and can make the jelly taste off. Picking just the petals gives you a cleaner, sweeter flavor.
How do I know when the jelly has set properly?
The classic cold plate test works well: spoon a bit of hot jelly onto a chilled plate and tilt it after a minute. If it wrinkles when nudged with your finger, it’s set. If it runs, it needs more boiling time.
Can I make this jelly without pectin?
Without pectin, the jelly won’t set properly and will be more like a syrup. If you prefer natural setting, use high-pectin fruits or cook much longer, but pectin packets make the process reliable and quick.
Is it safe to forage dandelions for this recipe?
Yes, but only if you’re sure the area hasn’t been treated with pesticides or herbicides. Always harvest from clean, chemical-free locations like your garden or trusted wild areas.
How long does homemade dandelion lemon jelly keep?
When canned properly, it can last up to a year unopened. Refrigerated after opening, it’s best used within 3 weeks. Freezing extends shelf life to about 6 months.
Pin This Recipe!
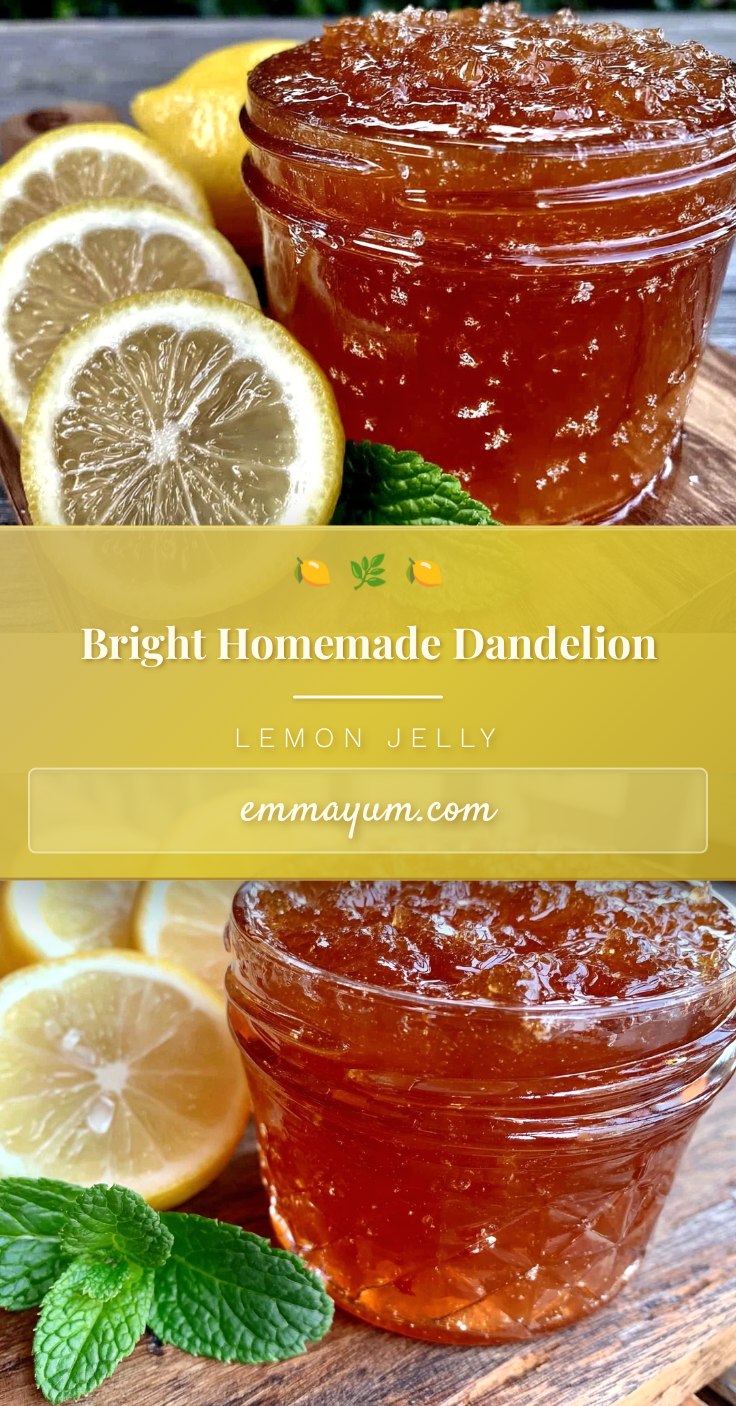
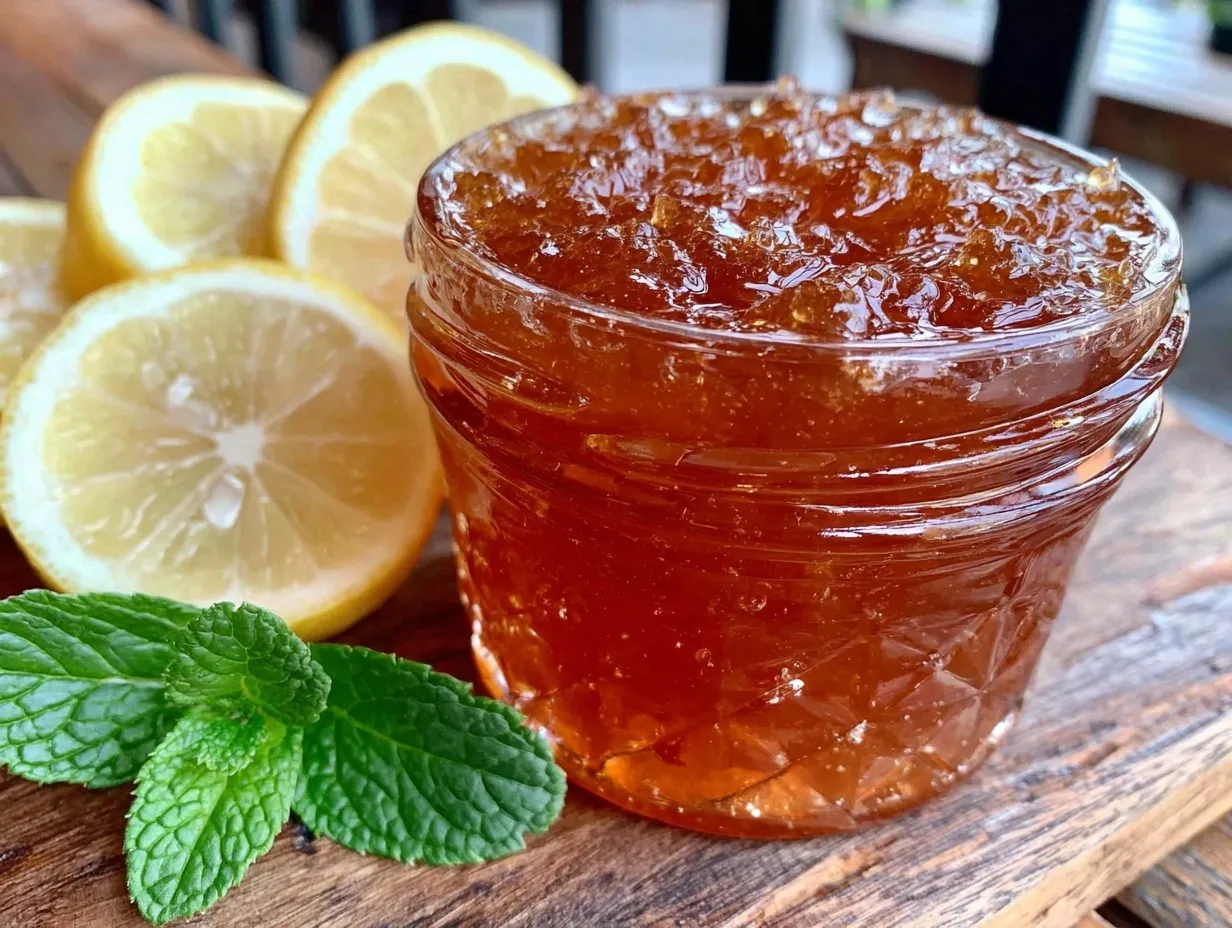
Fresh Homemade Dandelion Lemon Jelly
A unique and refreshing jelly made from fresh dandelion petals and lemon juice, offering a bright citrus tang balanced with floral sweetness. Perfect for spring and early summer, this jelly is easy to make and delightful on toast or as a gift.
- Prep Time: 15 minutes
- Cook Time: 45 minutes
- Total Time: 1 hour
- Yield: About 4 half-pint jars (approximately 8 servings) 1x
- Category: Preserve
- Cuisine: American
Ingredients
- 4 cups fresh dandelion petals (yellow parts only, pesticide-free)
- 4 cups water (950 ml)
- ½ cup fresh lemon juice (120 ml)
- 4 cups granulated sugar (800 g)
- 1 packet powdered pectin (about 1.75 oz or 50 g)
- 1 tablespoon butter (15 g, optional)
Instructions
- Pick about 4 cups of bright yellow dandelion petals, avoiding green parts. Rinse gently in cold water and drain.
- Place petals in a large saucepan and add 4 cups (950 ml) water. Bring to a gentle boil, then simmer for 10 minutes until water turns golden.
- Strain the liquid through a fine mesh strainer or cheesecloth into a bowl or pot, pressing lightly to extract flavor. Discard petals.
- Return strained liquid to saucepan. Stir in ½ cup (120 ml) fresh lemon juice and pectin powder until dissolved.
- Heat mixture over medium-high heat, stirring constantly. When it reaches a full rolling boil, add 4 cups (800 g) granulated sugar all at once. Stir briskly to dissolve.
- Boil hard for 1-2 minutes, stirring constantly. Add 1 tablespoon butter to reduce foaming if desired.
- Test jelly by placing a spoonful on a cold plate; if it wrinkles when pushed, it is set. If not, boil another minute and test again.
- Remove from heat, skim off foam, and ladle hot jelly into sterilized jars leaving ¼ inch headspace. Wipe rims clean and seal.
- Let jars cool at room temperature. Store refrigerated for up to 3 weeks or process in a hot water bath for longer shelf life.
Notes
Avoid green parts of dandelion petals to prevent bitterness. Use fresh lemon juice for best flavor and jelly setting. Stir constantly during boiling to prevent burning. Test jelly set with cold plate test. Butter reduces foaming but is optional. For longer storage, process jars in a hot water bath or freeze jelly.
Nutrition
- Serving Size: 1 tablespoon
- Calories: 55
- Sugar: 14
- Carbohydrates: 14
Keywords: dandelion jelly, homemade jelly, lemon jelly, wildflower jelly, spring jelly, homemade preserves, easy jelly recipe