“I wasn’t expecting to get a cooking tip from my neighbor’s teenage son, but there I was—leaning over the counter while he whipped up this quick creamy microwave fudge that changed my dessert game forever.” That afternoon, with a cracked bowl and a half-melted mess on the side, I realized sometimes the best recipes come from the most unexpected places.
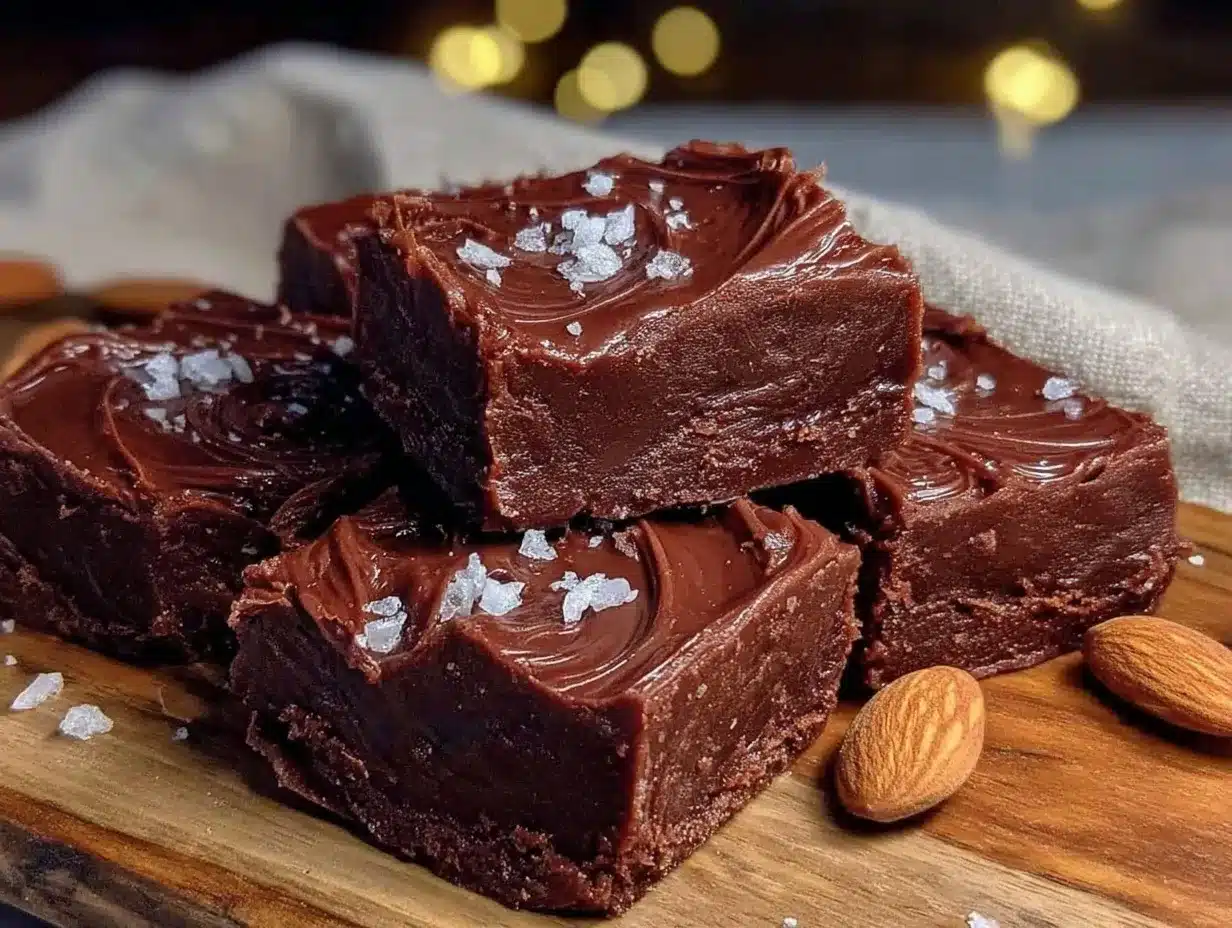
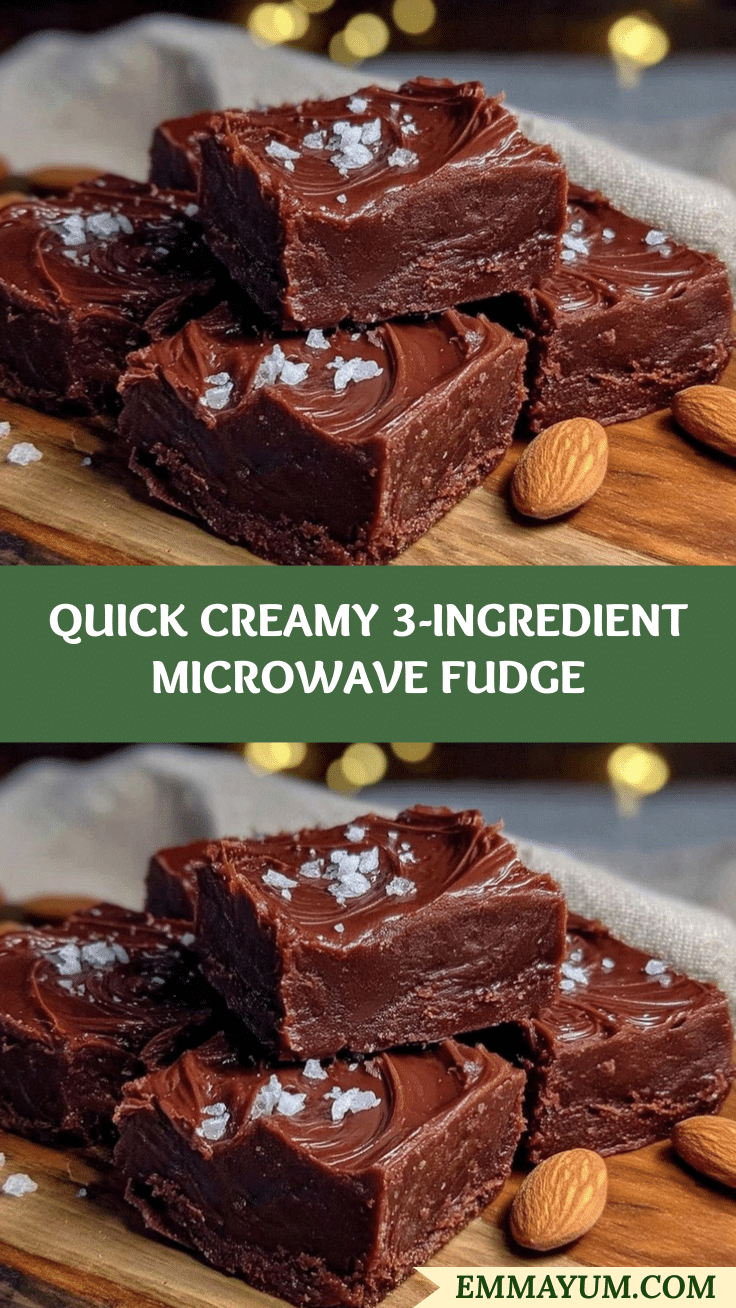
Let me tell you, making homemade fudge often sounded like a long, fiddly process to me—lots of stirring, precise temperatures, and a whole lot of patience. But this quick creamy microwave fudge recipe with 3 simple ingredients? Honestly, it felt like a cheat code. You know that feeling when you want something sweet and satisfying but don’t have the time or energy to pull out every pot and pan? This fudge steps right up.
Maybe you’ve been there: craving a rich, velvety treat but wanting to skip the fuss. The beauty of this fudge is its simplicity—no candy thermometer, no double boiler, no crazy timing. Just three ingredients, a microwave-safe bowl, and minutes later, you’ve got a creamy, luscious fudge that tastes like you slaved over it all day. It’s the kind of recipe that sticks with you because it’s so easy to make, and honestly, it tastes like a little piece of heaven you never thought you could create at home so fast.
Why You’ll Love This Recipe
- Quick & Easy: Comes together in under 10 minutes, perfect for those last-minute sweet cravings or spontaneous dessert plans.
- Simple Ingredients: Just three pantry staples—no fancy shopping runs needed, so it’s perfect for those “I’m out of chocolate” moments.
- Perfect for Gifting: Makes a lovely homemade treat for friends and neighbors, especially during holidays or casual get-togethers.
- Crowd-Pleaser: The creamy texture and rich chocolate flavor always get rave reviews from kids and adults alike.
- Unbelievably Delicious: The smooth, melt-in-your-mouth consistency is next-level comfort food, but without hours of work.
This recipe isn’t just another fudge variant. The trick is in gently melting the ingredients in short bursts and stirring like you mean it—this prevents graininess and gives that ultra-smooth finish. Plus, using sweetened condensed milk adds a creamy, velvety base that most fudge recipes just don’t have.
Honestly, this fudge recipe feels like it was made for busy weeknights or those rare moments when you want a sweet fix without the guilt trip of complicated cooking. It’s reliable, fast, and the results always impress. I keep a can of sweetened condensed milk in my pantry now, just for this!
What Ingredients You Will Need
This quick creamy microwave fudge uses simple, wholesome ingredients to deliver bold flavor and a satisfying texture without any fuss. Most of these are pantry staples you probably already have on hand, and substitutions are easy if needed.
- Chocolate Chips (2 cups / 340 grams): Use semi-sweet or milk chocolate chips depending on your preference. I recommend Ghirardelli for the best melt and taste, but Nestlé Toll House works well too.
- Sweetened Condensed Milk (1 can, 14 ounces / 396 grams): This is the secret ingredient that adds creamy richness and smoothness. Look for Eagle Brand or any trusted store brand. If you need a dairy-free option, you can substitute with coconut condensed milk, but expect a slight coconut flavor.
- Unsalted Butter (2 tablespoons / 28 grams): Adds silkiness and a bit of richness. Make sure it’s softened for easier melting.
Optional:
- Vanilla Extract (1 teaspoon): For a subtle depth of flavor that makes the fudge taste a little fancy.
- Pinch of Salt: Balances the sweetness and enhances the chocolate taste.
Ingredient Tips: Choose good-quality chocolate—your fudge’s flavor depends heavily on it. For seasonal twists, try adding crushed peppermint in winter or chopped nuts for some crunch. If you want a gluten-free fudge, this recipe is naturally gluten-free as long as your chocolate chips are certified.
Equipment Needed
- Microwave-Safe Bowl: A medium-sized glass or ceramic bowl works best. Avoid metal or plastic bowls that aren’t microwave-safe.
- Rubber Spatula or Spoon: For stirring the fudge mixture smoothly.
- 8×8 Inch Baking Pan or Small Square Dish: To pour the fudge into for setting. Line it with parchment paper for easy removal.
- Measuring Cups and Spoons: For precise measurements. I use a set of nesting cups that make cleanup easy.
If you don’t have a microwave, you could melt the ingredients on the stovetop using a double boiler, but honestly, the microwave makes this recipe quick and mess-free.
Maintaining your microwave-safe bowls is simple—avoid sudden temperature changes to prevent cracking. I learned this the hard way after rushing to chill my bowl in the freezer right after melting fudge (big mistake!).
Preparation Method
- Prepare Your Pan (5 minutes): Line your 8×8 inch pan with parchment paper, leaving some overhang on the sides to lift the fudge out easily once set.
- Combine Ingredients (1 minute): In your microwave-safe bowl, add 2 cups (340 g) of chocolate chips, 1 can (14 oz / 396 g) of sweetened condensed milk, and 2 tablespoons (28 g) of softened unsalted butter.
- Microwave in Intervals (3-4 minutes total): Heat the mixture on high for 1 minute, then stir vigorously with your spatula. Repeat heating in 30-second bursts, stirring well each time until the chocolate is melted and the mixture is smooth. It should take about 3 to 4 minutes total depending on your microwave’s power.
- Add Flavorings (Optional, 30 seconds): Stir in 1 teaspoon vanilla extract and a pinch of salt for added flavor depth. Mix thoroughly.
- Pour and Spread (2 minutes): Quickly pour the fudge mixture into your prepared pan. Use the spatula to spread it evenly and smooth the top.
- Set the Fudge (2 hours): Let the fudge sit at room temperature for about 15 minutes before transferring to the fridge. Chill for at least 2 hours or until firm.
- Cut and Serve: Use the parchment paper overhang to lift the fudge from the pan. Cut into small squares with a sharp knife. Enjoy!
Pro tip: Stirring well between microwave bursts is key to preventing grainy fudge. I once skipped a stir and ended up with chunks of unmelted chocolate—lesson learned!
If your fudge seems too soft after chilling, pop it back in the fridge a bit longer. And if it’s too hard, let it sit out for a few minutes before cutting.
Cooking Tips & Techniques
Making fudge in the microwave sounds almost too easy, but a few tricks make all the difference between creamy perfection and a crumbly mess. First off, patience during stirring is your best friend. You want to keep stirring until the mixture is totally smooth; rushing this step can cause grainy texture.
Also, be mindful of your microwave’s power setting—if it’s very high, reduce the heating time to prevent scorching. I’ve learned that short bursts of heat mixed with thorough stirring produce the best results. Another tip: soften the butter before starting so it blends effortlessly without clumps.
Don’t skip the parchment paper in your pan; fudge can stick stubbornly to unlined dishes. I speak from experience after wasting half a batch trying to pry it loose!
When cutting fudge, use a sharp knife dipped in hot water and wiped dry. This helps create clean cuts without crumbling. For consistent squares, score the fudge lightly while still slightly chilled before cutting all the way through.
Lastly, multitasking is easy here—you can prep your pan and flavorings while the fudge melts. This keeps everything moving swiftly and ensures you pour the fudge while it’s still perfectly pourable.
Variations & Adaptations
- Nutty Delight: Fold in ½ cup chopped walnuts or pecans right before pouring the fudge into the pan for a crunchy texture.
- Peanut Butter Swirl: Warm ¼ cup peanut butter and swirl it into the melted fudge with a knife before setting for a marbled effect.
- Dairy-Free Version: Use coconut condensed milk and dairy-free chocolate chips to make this fudge vegan-friendly while keeping that creamy texture.
- Flavor Boost: Add a teaspoon of espresso powder or a pinch of cinnamon to the melted fudge for a subtle twist that makes the chocolate pop.
- Seasonal Twist: In winter, sprinkle crushed peppermint candies on top before chilling. In summer, add chopped dried cherries or blueberries inside for a fruity surprise.
Personally, I once tried a version with a dash of cayenne pepper—it was surprisingly addictive! The slight heat paired with the creamy chocolate gave it a grown-up vibe, perfect for sharing with close friends.
Serving & Storage Suggestions
Serve your quick creamy microwave fudge chilled or at room temperature for that melt-in-your-mouth sensation. It pairs beautifully with a cup of coffee or a glass of cold milk—classic combo that never fails.
For a party, arrange fudge squares on a pretty platter lined with parchment or wax paper. Garnish with a sprinkle of sea salt or chopped nuts for a fancy touch.
Store fudge in an airtight container in the refrigerator for up to 2 weeks. For longer storage, it freezes well—wrap squares individually in wax paper and place them in a sealed bag. Thaw in the fridge overnight before serving.
When reheating slightly, let fudge sit at room temperature for 10 minutes before nibbling. Flavors tend to deepen after a day in the fridge, making it even more irresistible.
Nutritional Information & Benefits
This quick creamy microwave fudge is rich, so it’s definitely a treat to enjoy in moderation. A typical serving (about 1 square, 30 grams) contains approximately:
| Calories | 150 |
|---|---|
| Fat | 9g |
| Sugar | 18g |
| Protein | 2g |
Key ingredients like dark chocolate chips provide antioxidants, and the sweetened condensed milk adds calcium and protein. This fudge is naturally gluten-free as long as your chocolate is certified gluten-free.
From a wellness perspective, I appreciate that this recipe uses real, simple ingredients without artificial additives. It’s a comforting treat that doesn’t require a grocery store run or weird ingredients, which I find makes it easier to enjoy guilt-free in small doses.
Conclusion
This quick creamy microwave fudge with 3 simple ingredients is proof that you don’t need a complicated recipe to impress or satisfy your sweet tooth. It’s fast, easy, and reliably delicious every single time. Whether you’re making it for a last-minute gift, a cozy night in, or just because you need a little chocolate love, this fudge hits the spot.
I encourage you to experiment with the variations and find your favorite twist. Honestly, I love how this recipe feels like a little homemade magic—simple ingredients coming together to create something special.
If you give it a try, I’d love to hear how it turned out for you or what fun adaptations you made. Drop a comment, share your photos, or even suggest your own spin on this quick fudge! Remember, sometimes the best recipes are the ones you make your own.
Happy fudge making, friends!
FAQs
Can I use dark chocolate instead of semi-sweet chocolate chips?
Absolutely! Dark chocolate works beautifully and gives a richer, more intense fudge. Just make sure it’s good quality for the best melt.
How long does this fudge take to set?
It needs about 2 hours in the refrigerator to firm up completely. You can speed this up by placing it in the freezer for 30-45 minutes if you’re in a hurry.
What if my fudge turns out grainy?
This usually happens if the chocolate is overheated or not stirred enough. Try melting in shorter bursts and stirring thoroughly between each.
Can I store fudge at room temperature?
It’s best stored in the fridge to keep its creamy texture and prevent melting, especially in warm climates.
Is there a vegan version of this fudge?
Yes! Use coconut condensed milk and dairy-free chocolate chips. The texture might be slightly different but still delicious.
Pin This Recipe!
Quick Creamy Microwave Fudge Recipe with 3 Easy Ingredients for Perfect Homemade Treats

A fast and easy microwave fudge recipe using just three simple ingredients that yields a creamy, luscious treat perfect for last-minute cravings or gifting.
- Prep Time: 6 minutes
- Cook Time: 4 minutes
- Total Time: 2 hours 10 minutes
- Yield: 16 servings 1x
- Category: Dessert
- Cuisine: American
Ingredients
- 2 cups (340 grams) semi-sweet or milk chocolate chips
- 1 can (14 ounces / 396 grams) sweetened condensed milk
- 2 tablespoons (28 grams) unsalted butter, softened
- Optional: 1 teaspoon vanilla extract
- Optional: Pinch of salt
Instructions
- Prepare your 8×8 inch pan by lining it with parchment paper, leaving some overhang for easy removal (5 minutes).
- In a microwave-safe bowl, combine 2 cups (340 g) chocolate chips, 1 can (14 oz / 396 g) sweetened condensed milk, and 2 tablespoons (28 g) softened unsalted butter (1 minute).
- Microwave the mixture on high for 1 minute, then stir vigorously with a spatula. Continue heating in 30-second bursts, stirring well each time until the chocolate is melted and the mixture is smooth, about 3 to 4 minutes total.
- Stir in 1 teaspoon vanilla extract and a pinch of salt if using (optional, 30 seconds).
- Pour the fudge mixture into the prepared pan and spread evenly with a spatula (2 minutes).
- Let the fudge sit at room temperature for about 15 minutes, then transfer to the refrigerator and chill for at least 2 hours or until firm.
- Use the parchment paper overhang to lift the fudge from the pan. Cut into small squares with a sharp knife and serve.
Notes
Stir well between microwave bursts to prevent graininess. Use parchment paper to avoid fudge sticking to the pan. For clean cuts, dip knife in hot water and dry before slicing. If fudge is too soft after chilling, refrigerate longer; if too hard, let sit at room temperature before cutting.
Nutrition
- Serving Size: 1 small square (abou
- Calories: 150
- Sugar: 18
- Fat: 9
- Protein: 2
Keywords: microwave fudge, quick fudge recipe, creamy fudge, easy fudge, homemade fudge, 3 ingredient fudge, chocolate fudge, no candy thermometer fudge