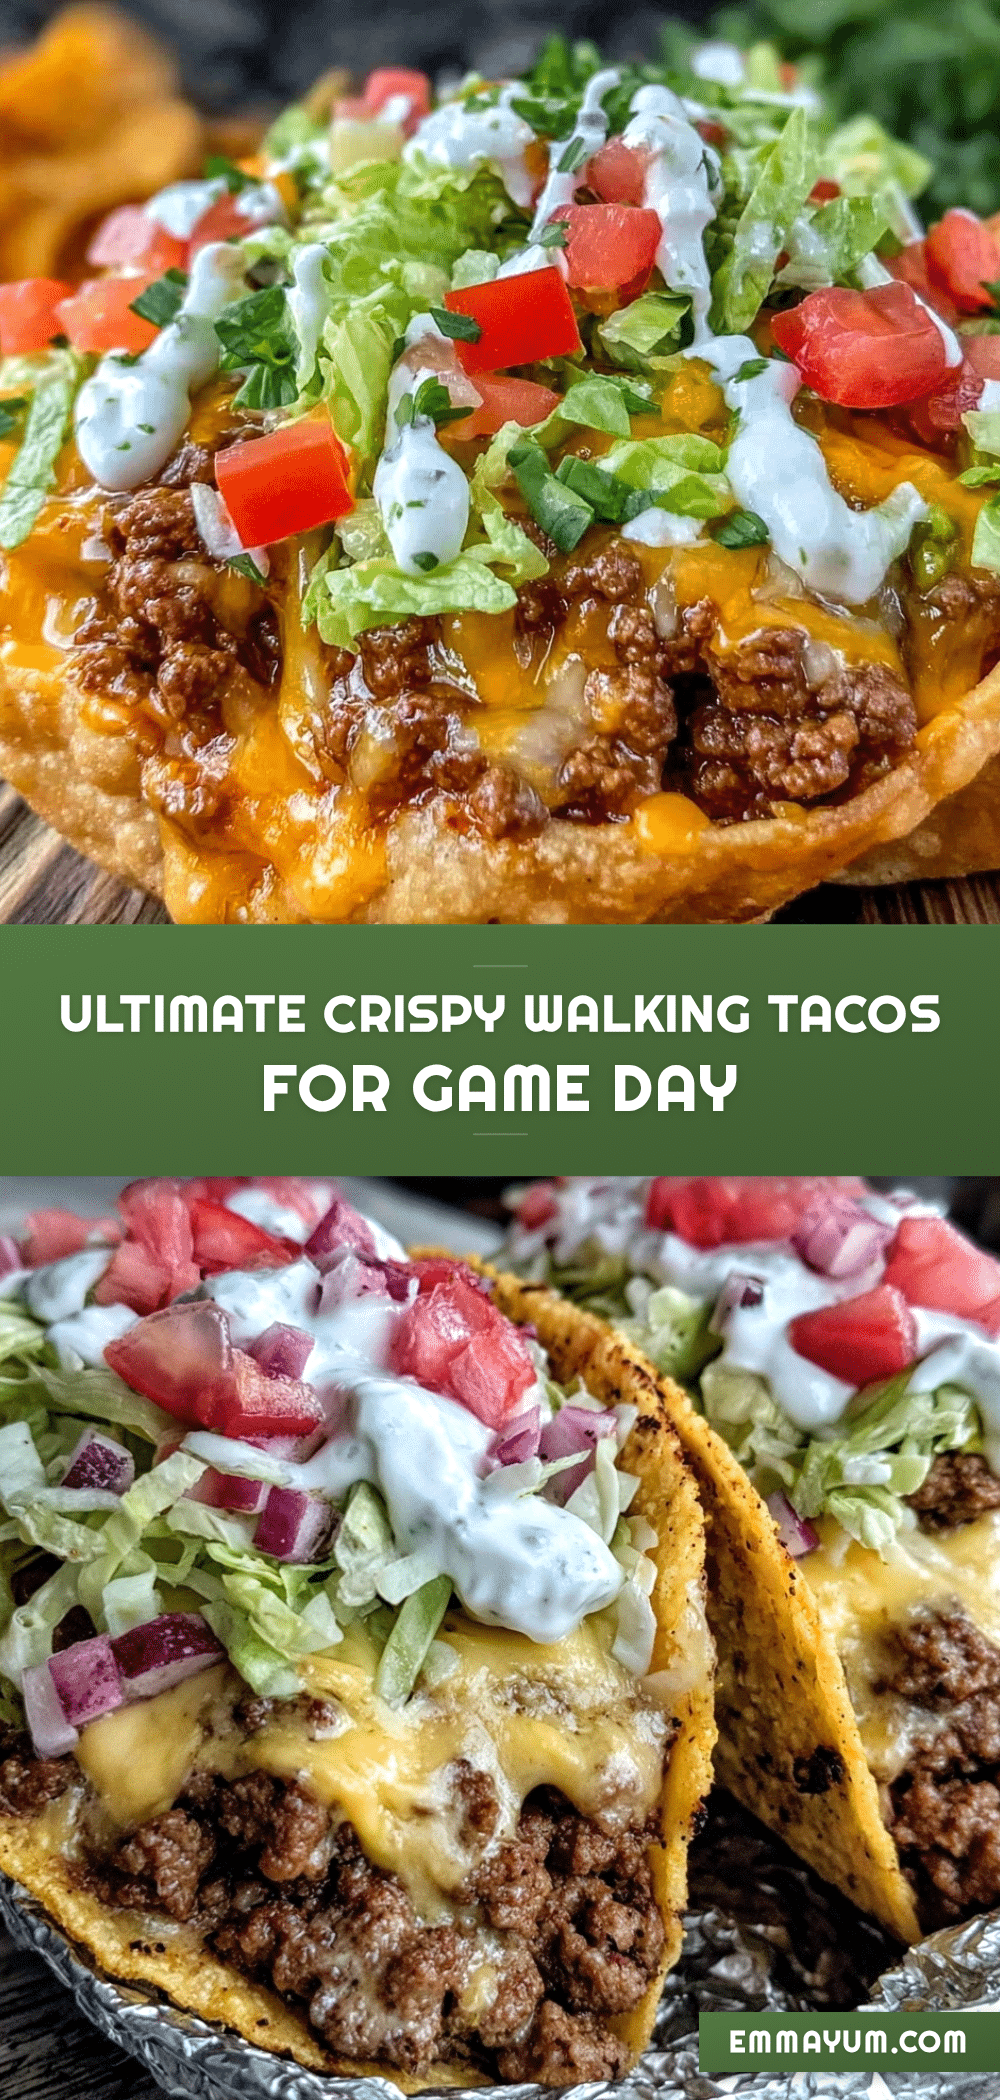
“Hey, you brought the tacos? Perfect!” I heard that shout from across the backyard as the game kicked off. Honestly, walking tacos were never really on my radar until that impromptu tailgate last fall. I was supposed to bring a simple snack—something easy to grab between plays without the fuss of plates and forks. What started as a last-minute grab of a few single-serve chip bags and some taco fixings turned into the biggest hit of the afternoon. The crunch of the chips mingled with the savory seasoned beef, gooey cheese, and fresh salsa all jostling inside a tiny bag was unlike anything else on the spread. It was messy, yes, but in the best way possible, and everyone kept coming back for more.
That day, the idea of crispy walking tacos became my go-to game day recipe—not just for its convenience but because it hits that unbeatable combo of crunchy, spicy, and cheesy that you just can’t resist. And honestly, this recipe stuck with me because it’s so flexible. Whether you’re hosting a crowd or just craving a quick snack, these walking tacos are fast, fun, and totally satisfying. Plus, they’re the kind of food that makes you pause and smile between sips of your drink, reminding you why game day snacks are an experience, not just food.
Now, whenever I pull out this recipe, I’m quietly confident it’ll get the same reaction—messy fingers and all. No need for fancy plating or complicated prep; it’s just straightforward, crispy walking tacos that bring folks together. And that’s why this recipe stayed in my regular rotation. It’s more than just a snack, it’s a little slice of game day joy packed into a chip bag.
Why You’ll Love This Recipe
Making crispy walking tacos is like nailing the perfect balance between ease and flavor. Over the years of testing, tweaking, and sharing with friends, I’ve realized this recipe checks all the boxes for a game day snack that truly delivers. Here’s why you’ll find yourself making it again and again:
- Quick & Easy: You can have these ready in under 20 minutes, making them perfect for last-minute gatherings or those unexpected cravings during the big game.
- Simple Ingredients: No need to hunt down specialty items. Most of the ingredients are pantry staples or easy to find at any grocery store.
- Perfect for Game Day: These tacos are handheld, portable, and mess-friendly—ideal for watching the game without missing a moment.
- Crowd-Pleaser: Whether you’re feeding hungry teens or a mixed crowd, the familiar taco flavors wrapped in crunchy chips make everyone happy.
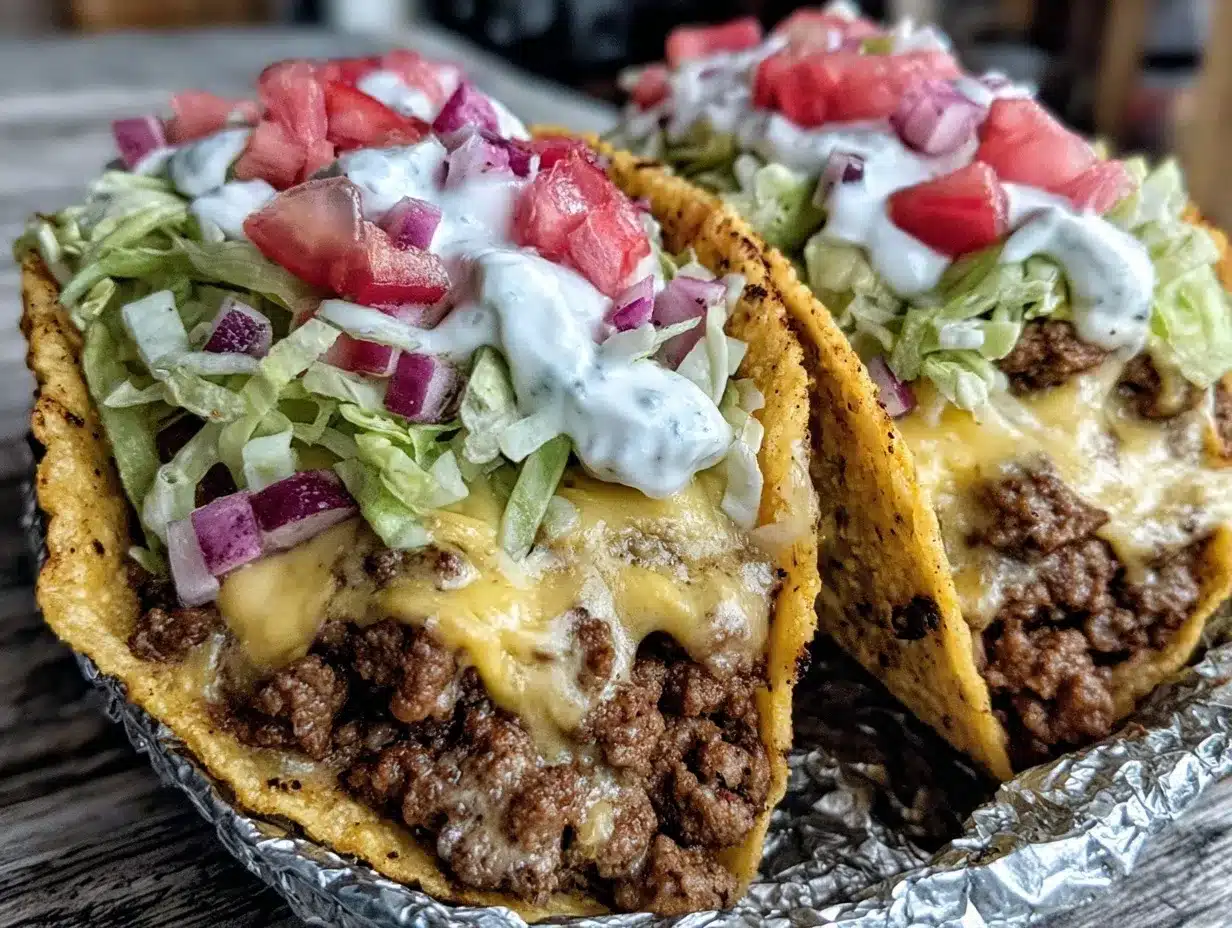
- Unbelievably Delicious: The crispness of the chips combined with seasoned meat, melty cheese, and fresh toppings creates a texture and flavor combo that’s just next-level comfort food.
Unlike other taco recipes that might feel fussy or require plates and cutlery, this one folds everything into a convenient bag for truly casual eating. The secret? Using sturdy chips like Fritos or Doritos that hold up under the toppings without turning soggy too fast. Plus, the seasoning blend I use is perfectly balanced—spicy but not overpowering. It’s a small detail, but it makes all the difference.
Honestly, these walking tacos aren’t just about feeding a crowd—they’re about creating those fun, relaxed moments where food feels like part of the atmosphere, not a chore. It’s the kind of recipe that brings a little extra joy to your game day setup, whether it’s a big party or just a few friends gathered around the TV.
What Ingredients You Will Need
This recipe uses simple, wholesome ingredients to deliver bold flavor and satisfying texture without the fuss. Most of these are pantry staples or easy to swap based on what’s on hand, so you won’t find yourself running all over town before kickoff.
- Tortilla chips or corn chips: I love using Fritos for their perfect crunch and size, but Doritos or any sturdy corn chips work well too. Avoid thin, flimsy chips that get soggy quickly.
- Ground beef: About 1 pound (450 g), lean or regular depending on your preference. You can also swap for ground turkey or a plant-based alternative for a lighter or vegetarian option.
- Taco seasoning: A homemade blend with chili powder, cumin, paprika, garlic powder, onion powder, and a pinch of cayenne adds the right flavor kick. Store-bought seasoning packets work too but watch the salt.
- Shredded cheese: Cheddar or a Mexican blend works best for melt and flavor. I recommend a good quality shredded cheese like Tillamook or Sargento for that perfect melt and sharpness.
- Fresh toppings: Diced tomatoes, chopped green onions, shredded lettuce, and sliced jalapeños add freshness and texture contrast.
- Sour cream or crema: A dollop on top brings cooling creaminess that balances the spice.
- Salsa or pico de gallo: Adds acidity and a fresh, zesty flavor. If you want to keep it simple, a good store-bought salsa works fine too.
- Optional extras: Black beans, corn kernels, or avocado chunks for extra heartiness and flavor.
Feel free to tweak the toppings based on what you like or have in your fridge. In summer, fresh corn or ripe avocado make fantastic additions. For a gluten-free option, just double-check your taco seasoning and chip ingredients.
Equipment Needed
- Large skillet or frying pan: For cooking the seasoned ground beef. A heavy-bottomed skillet is great for even browning.
- Mixing bowls: For prepping and holding your toppings.
- Spoons or spatulas: To stir and serve the taco meat.
- Measuring spoons: To get your seasoning just right.
- Optional: Food processor or knife: For chopping fresh toppings like tomatoes and onions.
If you don’t have a skillet, a non-stick frying pan works fine, but I find cast iron gives the best sear on the meat. For chopping, I often use a sharp chef’s knife—makes quick work and keeps things tidy. No fancy tools needed here, which is part of why this recipe is so accessible.
Preparation Method
- Cook the ground beef: Heat a large skillet over medium-high heat. Add 1 pound (450 g) of ground beef and cook, breaking it apart with a spatula, until browned and cooked through—about 7 to 10 minutes. Drain excess fat if needed.
- Add taco seasoning: Sprinkle in 2 tablespoons (30 ml) of taco seasoning and 1/4 cup (60 ml) of water. Stir well to coat the meat evenly. Let it simmer for 3 to 5 minutes until the sauce thickens and clings to the beef. The smell at this point already sets the mood!
- Prep toppings: While the meat simmers, dice 1 large tomato, chop 1 cup (30 g) of lettuce, slice 1 jalapeño (optional), and shred 1 cup (100 g) of cheese. Set aside sour cream and salsa for serving.
- Assemble the walking tacos: Grab individual 1 to 2-ounce (28 to 56 g) bags of sturdy corn chips (or open large chip bags and scoop into small cups/bags). Spoon about 1/3 to 1/2 cup (75 to 120 ml) of the seasoned beef directly into each bag.
- Add toppings: Sprinkle cheese over the warm meat so it melts slightly, then add lettuce, tomatoes, jalapeños, and a dollop of sour cream and salsa. The key is layering so every bite has a bit of everything.
- Serve immediately: Hand them out with forks or just dig in with your hands—the messier, the better!
TIP: If you want to prep ahead, cook and season the meat early, then keep warm in a slow cooker or covered pan. Chop toppings the day before and store separately. Assemble just before serving for freshest results.
Cooking Tips & Techniques
One of the trickiest parts here is picking the right chips. I learned the hard way that thin tortilla chips turn to mush too quickly once loaded. Using thicker corn chips like Fritos keeps that satisfying crunch longer.
When cooking the beef, don’t rush the browning step. Let the meat get a little crispy bits on the edges—that adds depth and texture. Also, draining excess fat prevents sogginess and keeps the flavors clean.
A quick trick I picked up is to simmer the taco seasoning with water rather than sprinkling it dry. This technique helps the spices cling to the meat and creates a saucier, more flavorful filling.
Multitasking is your friend here. While the meat simmers, chop your toppings so everything comes together smoothly. If you’re juggling game day chaos, prepping toppings the night before is a real time-saver.
Lastly, don’t be shy about customizing your toppings. I always keep a few extras like black beans or corn nearby. Adding those little bursts of flavor and texture make these walking tacos feel special without extra fuss.
Variations & Adaptations
- Vegetarian Version: Swap out the ground beef for seasoned black beans or lentils. Add some sautéed mushrooms for extra umami.
- Spicy Kick: Mix in chipotle powder or hot sauce with your taco seasoning for a smoky heat that wakes up the palate.
- Mexican Street Corn Style: Stir in some cotija cheese and fresh lime juice into your toppings for a tangy twist.
- Gluten-Free: Use certified gluten-free corn chips and check seasoning packets to avoid hidden gluten.
- Slow Cooker Option: Brown the meat first, then add seasoning and water to a slow cooker to keep warm during your party.
I once tried swapping the ground beef for shredded rotisserie chicken with taco seasoning—totally delicious and a great way to use leftovers! It kept the crispy walking tacos feeling fresh and a bit lighter, perfect for a spring game day gathering.
Serving & Storage Suggestions
These walking tacos are best served fresh and warm, right after assembly, so the chips stay crisp and the cheese is melty. They’re perfect handheld snacks, but if you’re serving indoors, setting up a toppings bar lets guests customize their own.
To complement the tacos, cold drinks like lemonade, iced tea, or a light beer work great. If you want to add another snack to the lineup, these crispy oven-fried buttermilk chicken tenders offer a crunchy contrast and keep the savory vibe going strong.
For leftovers, store the seasoned meat and toppings separately in airtight containers in the fridge for up to 3 days. Chips should be kept in a sealed bag at room temperature to stay crunchy. Reassemble just before serving again. Reheating the meat gently on the stove or microwave helps keep it juicy without drying out.
Keep in mind, the longer the filling sits on the chips, the more they soften, so these walking tacos truly shine fresh. But if you want a fun twist the next day, try mixing the leftovers into a cheesy casserole or taco salad.
Nutritional Information & Benefits
Each serving of crispy walking tacos (about 1 bag with toppings) contains approximately 350–400 calories, depending on portion size and toppings. The ground beef provides a solid protein boost, while the fresh veggies add fiber and vitamins.
Using lean beef or swapping for turkey or beans can reduce saturated fat and calories, making this snack a bit lighter. The corn chips contribute carbs and a satisfying crunch, while cheese and sour cream add calcium and a creamy texture.
For those watching carbs, try using less chips and more veggies or swapping to low-carb chips. Gluten-free eaters will appreciate that corn-based chips and simple seasoning blends usually fit the bill.
Overall, these walking tacos offer a balanced combination of macronutrients that fuel your energy during game day excitement without weighing you down.
Conclusion
Crispy walking tacos are a game day snack that just makes sense—easy to prepare, fun to eat, and packed with flavor. Whether you’re feeding a hungry crowd or just treating yourself, this recipe offers a casual, delicious way to enjoy classic taco flavors without the fuss.
Feel free to mix up the toppings or try out the variations to suit your tastes or dietary needs. I love how this recipe brings a little bit of festive chaos to the table, with that perfect crunch and melty, savory filling that always hits the spot.
Next time you’re planning a snack for your crew, remember this simple recipe and trust that it’ll bring smiles and satisfied appetites all around. I’m curious to hear how you put your own spin on it, so don’t hesitate to share your tweaks or stories!
FAQs about Crispy Walking Tacos
Can I make walking tacos ahead of time?
Yes, you can prepare the seasoned meat and toppings in advance, but assemble the tacos just before serving to keep the chips crispy.
What chips work best for walking tacos?
Sturdy corn chips like Fritos or Doritos hold up best under the toppings without getting soggy too quickly.
Can I make walking tacos vegetarian?
Absolutely! Use seasoned black beans, lentils, or sautéed mushrooms instead of ground meat for a tasty vegetarian version.
How spicy are these walking tacos?
The recipe has a mild to medium spice level, but you can adjust by adding more chili powder, cayenne, or jalapeños to suit your heat preference.
How should I store leftovers?
Keep leftover meat and toppings in separate airtight containers in the fridge for up to 3 days. Store chips separately at room temperature and assemble fresh when ready to eat.
Pin This Recipe!
Crispy Walking Tacos

A quick and easy game day snack featuring seasoned ground beef, crunchy corn chips, melty cheese, and fresh toppings all served in individual chip bags for handheld convenience.
- Prep Time: 10 minutes
- Cook Time: 15 minutes
- Total Time: 25 minutes
- Yield: 6 servings 1x
- Category: Snack
- Cuisine: Mexican-American
Ingredients
- 1 pound ground beef (lean or regular)
- 2 tablespoons taco seasoning (chili powder, cumin, paprika, garlic powder, onion powder, cayenne)
- 1/4 cup water
- Tortilla chips or sturdy corn chips (Fritos or Doritos recommended)
- 1 cup shredded cheese (cheddar or Mexican blend)
- 1 large tomato, diced
- 1 cup shredded lettuce
- 1 sliced jalapeño (optional)
- Sour cream or crema, for topping
- Salsa or pico de gallo, for topping
- Optional extras: black beans, corn kernels, avocado chunks
Instructions
- Heat a large skillet over medium-high heat. Add ground beef and cook, breaking it apart with a spatula, until browned and cooked through, about 7 to 10 minutes. Drain excess fat if needed.
- Sprinkle in taco seasoning and water. Stir well to coat the meat evenly. Let simmer for 3 to 5 minutes until sauce thickens and clings to the beef.
- While the meat simmers, dice tomato, chop lettuce, slice jalapeño (if using), and shred cheese. Set aside sour cream and salsa.
- Grab individual 1 to 2-ounce bags of sturdy corn chips or scoop chips into small cups/bags.
- Spoon about 1/3 to 1/2 cup of seasoned beef into each chip bag.
- Sprinkle cheese over warm meat so it melts slightly, then add lettuce, tomatoes, jalapeños, sour cream, and salsa.
- Serve immediately, eating with hands or forks.
Notes
Use sturdy corn chips like Fritos or Doritos to prevent sogginess. Brown the meat well for crispy bits and drain excess fat. Simmer taco seasoning with water for better flavor adhesion. Prep toppings ahead for convenience. Assemble just before serving to keep chips crunchy.
Nutrition
- Serving Size: About 1 chip bag wit
- Calories: 375
- Sugar: 3
- Sodium: 600
- Fat: 20
- Saturated Fat: 8
- Carbohydrates: 30
- Fiber: 3
- Protein: 18
Keywords: walking tacos, game day snack, crispy tacos, easy taco recipe, handheld tacos, party food, quick snack