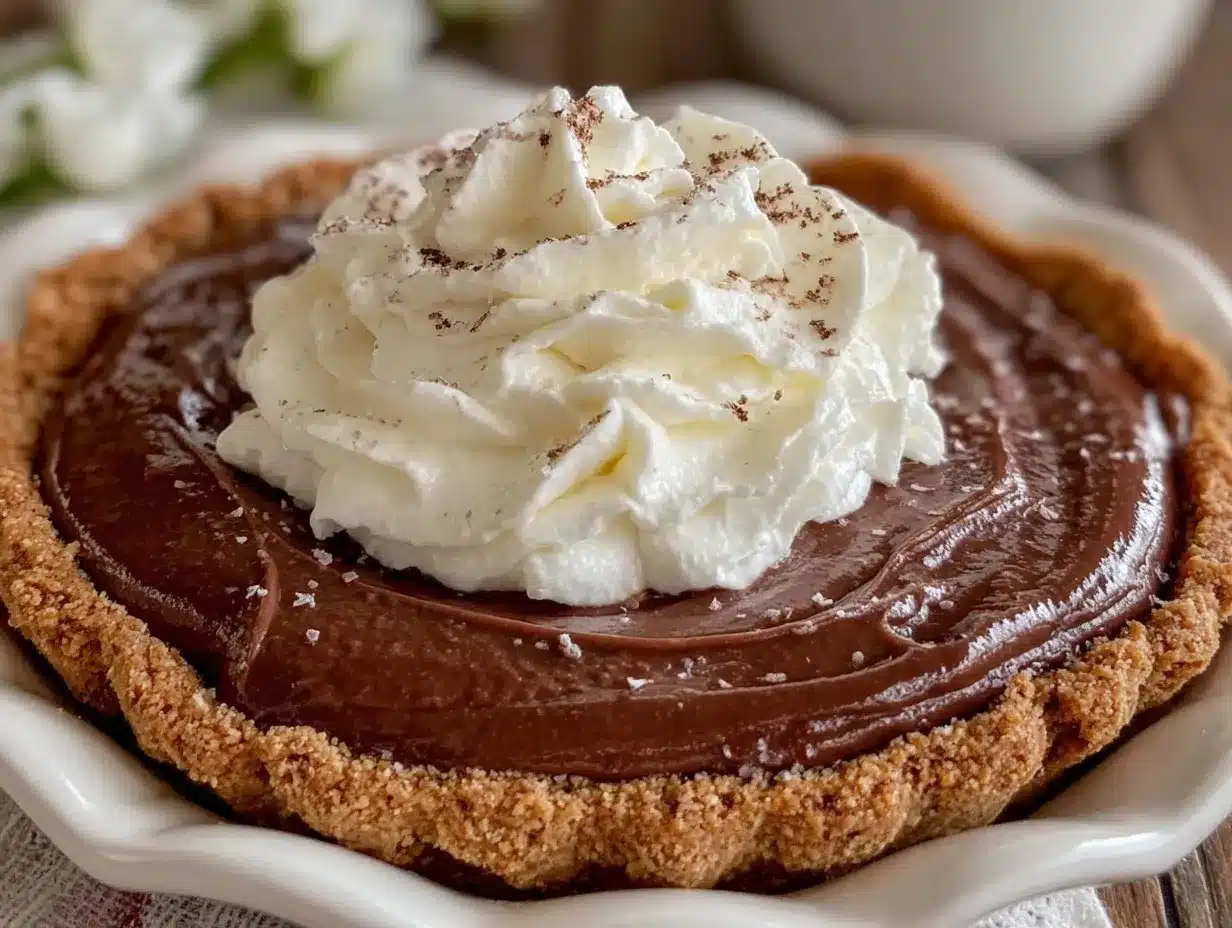
“You’re making a pie? At 9 PM?” my friend texted, half-joking, half-surprised. Honestly, I wasn’t even sure I’d pull it off. The day had been a relentless blur of meetings, errands, and a kitchen that looked like a hurricane had passed through. Yet there I was, rummaging through the fridge, clutching a block of dark chocolate and a carton of heavy cream. The idea of a creamy chocolate silk pie with whipped cream topping popped into my head like a late-night craving from nowhere.
The silky, rich texture of that pie had haunted me since I first tasted it at a neighbor’s dinner party months ago. I remember sitting quietly, savoring each bite as if it was a tiny, delicious escape. So despite the exhaustion, I decided to try making it myself. The best part? It wasn’t complicated or fussy, which was exactly what I needed after a chaotic day.
That night, as the chocolate melted into a luscious, smooth filling and the whipped cream blossomed like a cloud on top, I realized this pie was more than just dessert. It became a quiet moment of calm, a little indulgence that felt like a warm hug from the inside out. Since then, I’ve made this creamy chocolate silk pie with whipped cream topping multiple times, each slice reminding me that sometimes the simplest recipes bring the biggest comfort.
This pie isn’t flashy or overly decorated; it just knows how to please. And honestly, that’s why it stuck around in my recipe rotation. If you’re after a dessert that’s both impressive and incredibly doable, this one’s a keeper.
Why You’ll Love This Recipe
After testing countless chocolate pies, I can say this creamy chocolate silk pie stands out for a few reasons that really matter when you’re juggling life and dessert cravings:
- Quick & Easy: The entire pie comes together in under 30 minutes, making it perfect for those nights when you need a sweet finish without fuss.
- Simple Ingredients: You probably have most of these staples in your pantry already—no last-minute grocery runs required.
- Perfect for Any Occasion: Whether it’s a casual family dinner or a holiday gathering, this pie fits right in.
- Crowd-Pleaser: Kids and adults alike tend to ask for seconds — the texture and flavor strike just the right balance.
- Unbelievably Delicious: The silky smooth chocolate filling paired with fluffy whipped cream hits that comfort food sweet spot like nothing else.
What really sets this recipe apart is the way the chocolate filling is whipped until almost mousse-like, giving it that signature silkiness that’s hard to find in store-bought pies. Instead of clumpy or heavy, you get a luscious, melt-in-your-mouth sensation. Plus, topping it with homemade whipped cream rather than canned versions makes a noticeable difference—light, airy, and just a hint of sweetness.
This isn’t just another chocolate pie; it’s the kind that makes you close your eyes mid-bite and wish the moment could stretch longer. If you want a dessert that’s easy enough for weeknights but special enough to impress guests, you’ll find yourself coming back to this recipe again and again.
What Ingredients You Will Need
This creamy chocolate silk pie uses straightforward, wholesome ingredients that create a dessert both rich and satisfying without complicated prep. Most of these are pantry staples, making this recipe incredibly accessible.
- Chocolate: 8 oz (225 g) bittersweet or semi-sweet chocolate, chopped (I like Ghirardelli for consistent melting and flavor)
- Unsalted Butter: 1/2 cup (115 g), softened (adds richness and smooth texture)
- Sugar: 3/4 cup (150 g) granulated sugar (balances the bitterness of the chocolate)
- Large Eggs: 4, at room temperature (separated; yolks and whites used differently for texture)
- Vanilla Extract: 1 tsp (pour in pure vanilla for best aroma)
- Salt: 1/4 tsp (enhances flavor)
- Whipping Cream: 1 cup (240 ml), cold, for the topping (heavy cream or whipping cream both work)
- Pie Crust: 1 pre-baked 9-inch (23 cm) pie shell (graham cracker or traditional pastry crust both delicious; I prefer a buttery homemade crust for extra flavor)
Optional additions:
- A sprinkle of cocoa powder or chocolate shavings for garnish
- A pinch of espresso powder mixed into the chocolate to boost depth
If you want a gluten-free option, you can substitute the pie crust with a store-bought gluten-free crust or a homemade almond flour crust. For dairy-free needs, swap butter with coconut oil and use coconut cream instead of whipping cream—though the texture will differ slightly.
Equipment Needed
- Double boiler or a heatproof bowl set over simmering water (for melting chocolate gently)
- Electric mixer or stand mixer (essential for whipping egg whites and cream to the right consistency)
- Mixing bowls, preferably glass or metal (plastic sometimes holds onto fats and affects whipping)
- Rubber spatula (for folding ingredients carefully)
- 9-inch (23 cm) pie dish (glass or metal; either works well)
- Measuring cups and spoons
- Whisk (handheld, for initial mixing)
If you don’t have a double boiler, you can carefully melt chocolate in the microwave in short bursts, stirring often to avoid burning. For whipping, a stand mixer makes the job easier and more consistent, but a handheld electric mixer works just fine. I’ve even whipped cream by hand with a balloon whisk, though it takes more elbow grease!
Preparation Method
- Prepare the Pie Crust: If you’re using a pre-baked pie shell, make sure it’s fully cooled before filling. If homemade, bake according to your recipe and let cool completely (about 15 minutes). This prevents a soggy crust.
- Melt the Chocolate: Set up a double boiler by placing a heatproof bowl over simmering water. Add chopped chocolate and softened butter. Stir gently until smooth and fully melted, about 5 minutes. Remove from heat and let cool slightly.
- Separate Eggs: Carefully separate your 4 large eggs into yolks and whites. Set whites aside in a clean bowl for whipping later.
- Mix Egg Yolks and Sugar: Using a whisk or mixer, beat the egg yolks with half the sugar (3/8 cup or 75 g) until pale and creamy, about 3-4 minutes. This helps dissolve the sugar and adds volume.
- Combine Chocolate and Yolks: Slowly add the melted chocolate mixture to the egg yolks, stirring constantly to prevent cooking the eggs. Mix in vanilla extract and salt.
- Whip Egg Whites: In a clean bowl, beat egg whites until soft peaks form. Gradually add the remaining sugar and continue beating until stiff, glossy peaks appear. This step is crucial for the silkiness.
- Fold Whites into Chocolate Mixture: Gently fold one-third of the whipped egg whites into the chocolate mix to lighten it. Then carefully fold in the rest until no white streaks remain. Be gentle—you want to keep as much air as possible for that silky texture.
- Fill Pie Shell: Pour the filling into your cooled pie shell, smoothing the top with a spatula. Cover loosely with plastic wrap and refrigerate for at least 4 hours, preferably overnight, to let it set completely.
- Make Whipped Cream Topping: Just before serving, whip cold heavy cream with a tablespoon of sugar until soft peaks form. Spread or pipe generously over the chilled pie.
- Garnish and Serve: Add chocolate shavings or a light dusting of cocoa powder for a pretty finish. Serve chilled for best texture and flavor.
Pro tip: If your egg whites don’t whip up well, make sure the bowl and beaters are absolutely grease-free and the eggs are fresh. Also, folding too aggressively can deflate the mixture—patience pays off here!
Cooking Tips & Techniques
Getting a perfectly smooth and silky chocolate silk pie takes a bit of finesse, but it’s really about a few key techniques I learned the hard way:
- Melting Chocolate Slowly: Overheating chocolate is a classic mistake. It can seize or burn easily, ruining your filling. Use gentle heat and stir constantly.
- Egg Separation: Even a tiny bit of yolk in the whites prevents them from whipping properly. Take your time separating eggs in a clean bowl.
- Whipping Egg Whites: This step is what gives the pie its signature airiness. Stop beating once stiff peaks form but before it gets grainy.
- Folding: Fold the whites into the chocolate mixture slowly and gently. Use a spatula and scoop from the bottom up to keep as much air in as possible.
- Chilling Time: Don’t rush the chilling. The pie needs time to fully set, or you’ll end up with a runny filling. Overnight chilling is ideal.
One time, I rushed the chilling and ended up with a softer-than-desired filling, but adding a bit of gelatin next time fixed that issue. Still, I prefer the classic method without extra stabilizers. Also, whipping your own cream is worth the effort—it tastes miles better than store-bought canned toppings.
When I’m pressed for time, I’ve paired this pie with a quick no-churn ice cream for an extra special dessert combo that guests rave about.
Variations & Adaptations
This creamy chocolate silk pie is a versatile canvas—you can tweak it based on diet, season, or mood:
- Nutty Twist: Add 1/2 cup finely chopped toasted pecans or hazelnuts into the crust or sprinkle on top of the whipped cream for crunch.
- Mint Chocolate: Mix 1/2 tsp peppermint extract in place of vanilla for a refreshing holiday vibe.
- Dairy-Free Version: Use coconut oil instead of butter and coconut cream whipped with a bit of powdered sugar for the topping. The flavor changes but stays delicious.
- Seasonal Fruit: Top with fresh raspberries or sliced strawberries in summer to add brightness and color.
- Espresso Boost: Stir 1 tsp instant espresso powder into the melted chocolate for a mocha flavor that’s subtle but delicious.
Personally, I once made a version swapping the pie crust for a chocolate cookie crumb base—similar to the crust in my chocolate-covered strawberry cheesecake bars. It added an intense chocolate punch that chocolate lovers will enjoy.
Serving & Storage Suggestions
Serve this creamy chocolate silk pie chilled, straight from the fridge. The filling should be set yet soft enough to cut clean slices that melt on your tongue. The whipped cream topping adds a light contrast, so don’t skimp on it.
This pie pairs beautifully with a hot espresso or a cold glass of milk—both balance the richness nicely. For a fun twist, try serving alongside fresh berries or a drizzle of raspberry sauce to add some tartness.
To store, cover the pie tightly with plastic wrap or foil and refrigerate up to 3 days. The flavors deepen over time, but the whipped cream topping is freshest if added right before serving. If you want to freeze it, freeze the pie without topping wrapped well, then thaw in the fridge overnight before adding whipped cream.
Reheating isn’t recommended; this pie is best enjoyed cold. The texture and silkiness are what make it special, and heat can ruin that delicate balance.
Nutritional Information & Benefits
Each slice (1/8 of the pie) offers approximately:
| Calories | Fat | Carbohydrates | Protein |
|---|---|---|---|
| 320 kcal | 22 g | 28 g | 5 g |
Key ingredients like dark chocolate provide antioxidants and minerals such as iron and magnesium, while eggs offer quality protein. Using real butter and cream adds richness but also saturated fat, so portion control is wise if you’re watching intake.
This recipe is naturally gluten-free if you opt for a gluten-free crust, and can be adjusted for dairy-free diets as mentioned earlier. It’s a treat that fits into a balanced lifestyle when enjoyed mindfully.
Conclusion
This creamy chocolate silk pie with whipped cream topping isn’t just a dessert; it’s a little celebration of simple pleasures done right. It’s forgiving enough for a late-night craving yet elegant enough to share with family or guests. The balance of silky chocolate and airy cream makes every bite feel special without complicated steps or exotic ingredients.
Try making it your own with the variations or by pairing with complementary dishes like a cozy slow cooker potato soup for a comforting meal or a quick cinnamon roll mug cake for a sweet finish. I love this pie because it reminds me that even on the busiest days, a little indulgence is possible—and sometimes necessary.
Give it a try, and let me know how your slice of silk turns out. Your kitchen deserves a dessert that’s as reliable as it is delicious.
FAQs About Creamy Chocolate Silk Pie with Whipped Cream Topping
Can I make this pie ahead of time?
Absolutely! The pie actually benefits from chilling overnight to set perfectly. Just add the whipped cream topping right before serving for the freshest taste.
Is it safe to use raw eggs in this recipe?
This recipe uses raw eggs, which are gently cooked by the warmth of the melted chocolate and mixing process, but if you’re concerned, you can use pasteurized eggs or egg substitutes designed for desserts.
What if my egg whites don’t whip up stiff?
Make sure your bowl and beaters are free of grease, and your eggs are fresh and cold. Avoid any yolk contamination. If issues persist, try adding a pinch of cream of tartar before whipping.
Can I freeze the pie?
Yes, you can freeze the pie without the whipped cream topping. Wrap it tightly and thaw in the fridge overnight before serving. Add fresh whipped cream after thawing.
What’s the best chocolate to use?
I recommend good-quality bittersweet or semi-sweet chocolate like Ghirardelli or Valrhona. Avoid chocolate chips with stabilizers, as they don’t melt as smoothly.
Pin This Recipe!
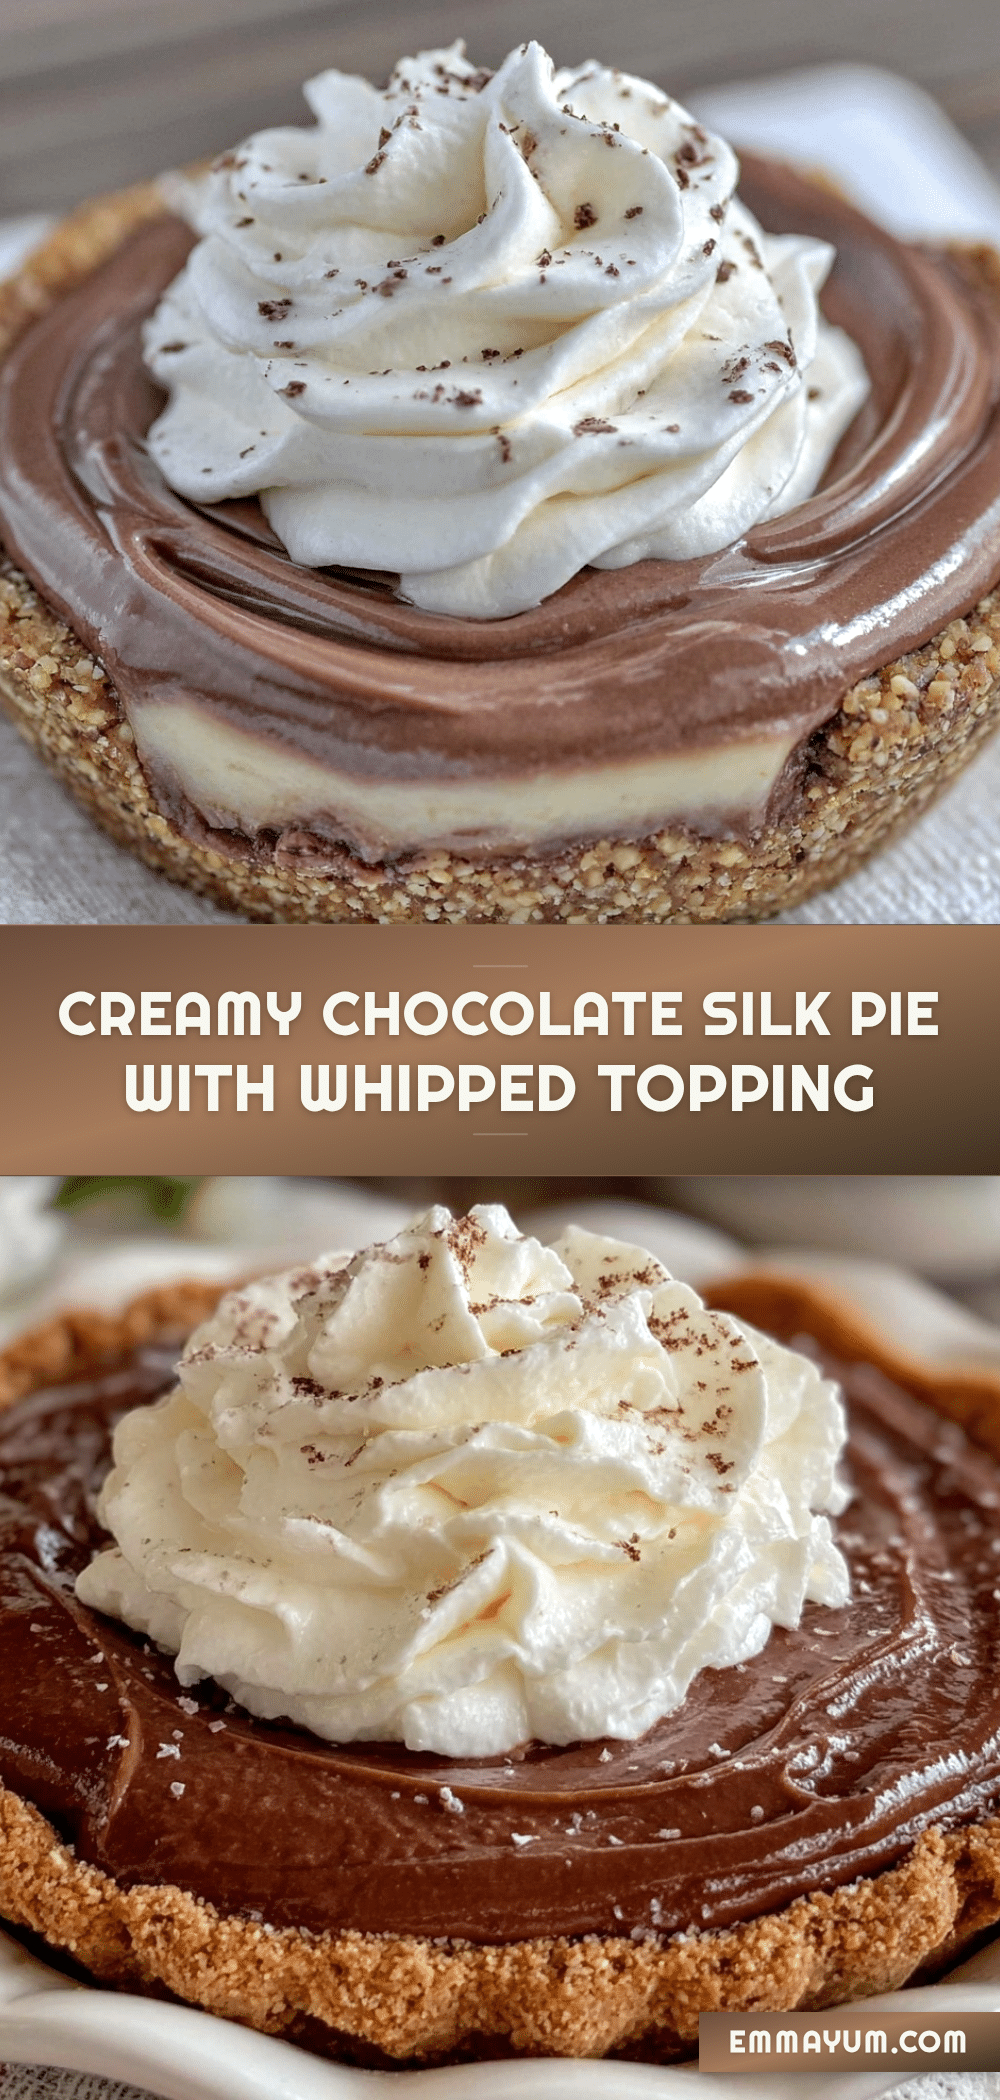
Creamy Chocolate Silk Pie with Whipped Cream Topping

A silky, rich chocolate pie with a luscious mousse-like filling topped with homemade whipped cream. Easy to make and perfect for any occasion.
- Prep Time: 15 minutes
- Cook Time: 5 minutes
- Total Time: 4 hours 20 minutes
- Yield: 8 servings 1x
- Category: Dessert
- Cuisine: American
Ingredients
- 8 oz bittersweet or semi-sweet chocolate, chopped
- 1/2 cup unsalted butter, softened
- 3/4 cup granulated sugar
- 4 large eggs, separated
- 1 tsp vanilla extract
- 1/4 tsp salt
- 1 cup cold whipping cream
- 1 pre-baked 9-inch pie crust (graham cracker or traditional pastry crust)
Instructions
- Prepare the pie crust: Ensure the pre-baked pie shell is fully cooled before filling.
- Melt the chocolate and butter in a double boiler over simmering water, stirring gently until smooth, about 5 minutes. Remove from heat and cool slightly.
- Separate the eggs into yolks and whites, setting whites aside for whipping.
- Beat egg yolks with half the sugar (3/8 cup) until pale and creamy, about 3-4 minutes.
- Slowly add the melted chocolate mixture to the yolks, stirring constantly. Mix in vanilla extract and salt.
- Beat egg whites until soft peaks form. Gradually add remaining sugar and beat until stiff, glossy peaks form.
- Gently fold one-third of the whipped egg whites into the chocolate mixture to lighten it, then fold in the rest carefully until no white streaks remain.
- Pour filling into cooled pie shell, smooth the top, cover loosely with plastic wrap, and refrigerate at least 4 hours or overnight.
- Just before serving, whip cold heavy cream with a tablespoon of sugar until soft peaks form. Spread or pipe over the chilled pie.
- Garnish with chocolate shavings or a dusting of cocoa powder and serve chilled.
Notes
Use fresh eggs and ensure bowls and beaters are grease-free for best whipping results. Melt chocolate slowly to avoid burning. Chill pie overnight for best texture. For dairy-free, substitute butter with coconut oil and whipping cream with coconut cream. Gluten-free crust can be used as a substitute.
Nutrition
- Serving Size: 1 slice (1/8 of pie)
- Calories: 320
- Fat: 22
- Carbohydrates: 28
- Protein: 5
Keywords: chocolate silk pie, creamy chocolate pie, whipped cream topping, easy chocolate dessert, homemade chocolate pie